dev-ops-challenges
Set Up Jenkins Server
Technical Overview
Deploying a continuous integration and continuous deployment (CI/CD) server like Jenkins requires setting up a Java runtime environment (JRE) and configuring official package repositories to ensure clean lifecycle management.
Jenkins operates as a standalone Java application hosting its own embedded servlet container (Jetty). In a standard Linux infrastructure, installing Jenkins involves:
- Java Environment Provisioning: Installing a supported Java Runtime Environment (JRE).
- Package Repository Configuration: Adding the official Jenkins Debian repository and registering its GPG key to verify package signatures.
- Daemon Integration: Managing Jenkins as a background service via system init scripts (
serviceorsystemctl). - Initial Setup Wizard: Unlocking the application using a generated file-based secret, installing baseline plugins, and creating the master admin user account.
graph TD
    subgraph ClientSystem ["Client System"]
        User["CI/CD Administrator"]
    end

    subgraph TargetServer ["Jenkins Target Server"]
        APT["APT Package Manager"]
        Java["OpenJDK 21 JRE"]
        JenkinsService["Jenkins Daemon on Port 8080"]
        JenkinsKeyring["GPG Keyring File"]
        JenkinsSource["Jenkins Source File"]
        SecretPath["Unlock Keyfile Secret"]
        SetupWizard["Web Setup Wizard"]
    end

    APT -->|Installs| Java
    APT -->|Installs| JenkinsService
    JenkinsKeyring -.->|Verifies Signatures| APT
    JenkinsSource -.->|Configures Repo| APT
    SecretPath -->|Unlock Code| SetupWizard

    User -->|SSH as root| APT
    User -->|HTTP Access| SetupWizard
Debian Repositories & Java Service Architecture Deep Dive
1. Secure Package Management with APT GPG Keys
Debian-based distributions use GPG (GNU Privacy Guard) keys to sign package metadata. This guarantees that packages installed using apt have not been tampered with.
- Keyring Registry: GPG keys are downloaded and saved into a secure keyring directory (such as
/etc/apt/keyrings/). - Sources List Configuration: The repository definition
/etc/apt/sources.list.d/jenkins.listis configured with asigned-byoption pointing directly to this keyring. Whenapt updateruns, the package manager checks the downloaded package metadata against this local key.
2. Servlet Containers & JRE Prerequisites
Jenkins is written in Java and runs inside a servlet container.
- Version Compatibility: Modern versions of Jenkins require Java 17 or Java 21. Running Jenkins on unsupported versions of Java will cause compilation errors or application failure upon startup.
- Dependency Management: The
openjdk-21-jrepackage installs the core Java Virtual Machine (JVM). Additionally, graphic libraries (e.g.,fontconfig) are installed to support PDF rendering, graph generation, and user interface elements.
Infrastructure & Configuration Requirements
- Target Server Hostname:
jenkins - User Credentials:
root(Password:S3curePass) - Installation Utility:
apt(Debian-based package manager) - Service Manager:
serviceCLI utility
Jenkins Admin User Specification
- Username:
theadmin - Password:
Adm!n321 - Full Name:
Rose - E-mail Address:
rose@jenkins.stratos.xfusioncorp.com
Step-by-Step Installation
Step 1: Connect to the Jenkins Server
Establish an SSH connection to the destination server using the target host and credentials:
ssh root@jenkins
# Enter password: S3curePass
Step 2: Install Java Runtime Environment (JRE)
Update the package registry index and install the OpenJDK runtime dependency along with system font helpers:
sudo apt update
sudo apt install -y fontconfig openjdk-21-jre
Verify that the JVM has been successfully added to the executable search path:
java -version
Expected Output:
openjdk version "21.0.x" ...
OpenJDK Runtime Environment ...
OpenJDK 64-Bit Server VM ...
Step 3: Add the Official Jenkins Repository
Download and save the Jenkins repository GPG key into the system keyrings directory:
sudo wget -O /etc/apt/keyrings/jenkins-keyring.asc https://pkg.jenkins.io/debian-stable/jenkins.io-2026.key
Add the Jenkins package repository source file pointing to the keyring:
echo "deb [signed-by=/etc/apt/keyrings/jenkins-keyring.asc] https://pkg.jenkins.io/debian-stable binary/" | sudo tee /etc/apt/sources.list.d/jenkins.list > /dev/null
Step 4: Install Jenkins Package
Update the package source cache to discover the new Jenkins repository index, then install the package:
sudo apt update
sudo apt install -y jenkins
Step 5: Start the Jenkins Daemon Service
Start the Jenkins background service using the system init CLI utility:
# Check initial status
service jenkins status

# Start the background daemon
service jenkins start
Confirm that the service is running and listening on default port 8080:
service jenkins status
Expected Output:
● jenkins.service - LSB: Start Jenkins at boot time
     Loaded: loaded (/etc/init.d/jenkins; generated)
     Active: active (running) since Wed 2026-07-22 20:25:00 UTC; 10s ago
     ...
Initial Setup Wizard Walkthrough
Step 1: Retrieve the Initial Admin Password
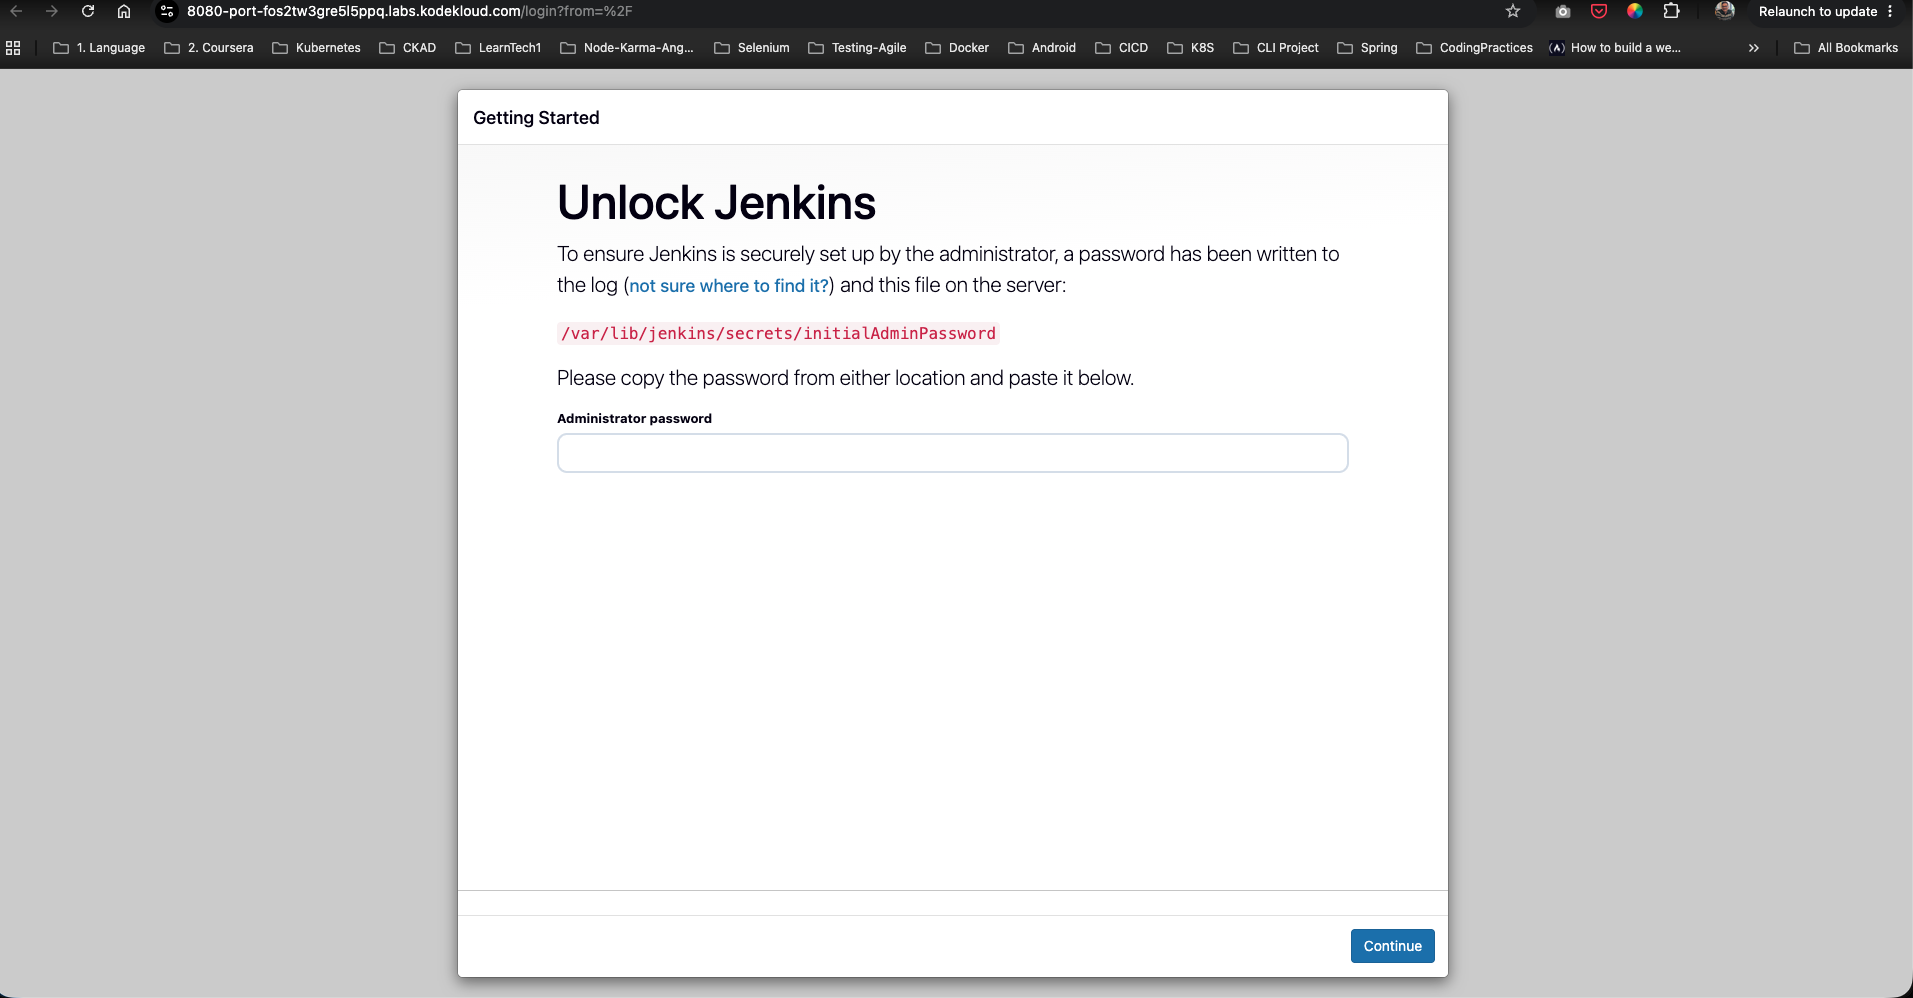
To unlock the Jenkins administrative interface, read the generated unique password hash from the local filesystem:
cat /var/lib/jenkins/secrets/initialAdminPassword
Expected Output:
a1b2c3d4e5f6g7h8i9j0k1l2m3n4o5p6
Copy the output hash, paste it into the Administrator password field on the Jenkins landing page (http://<server-ip>:8080), and click Continue.
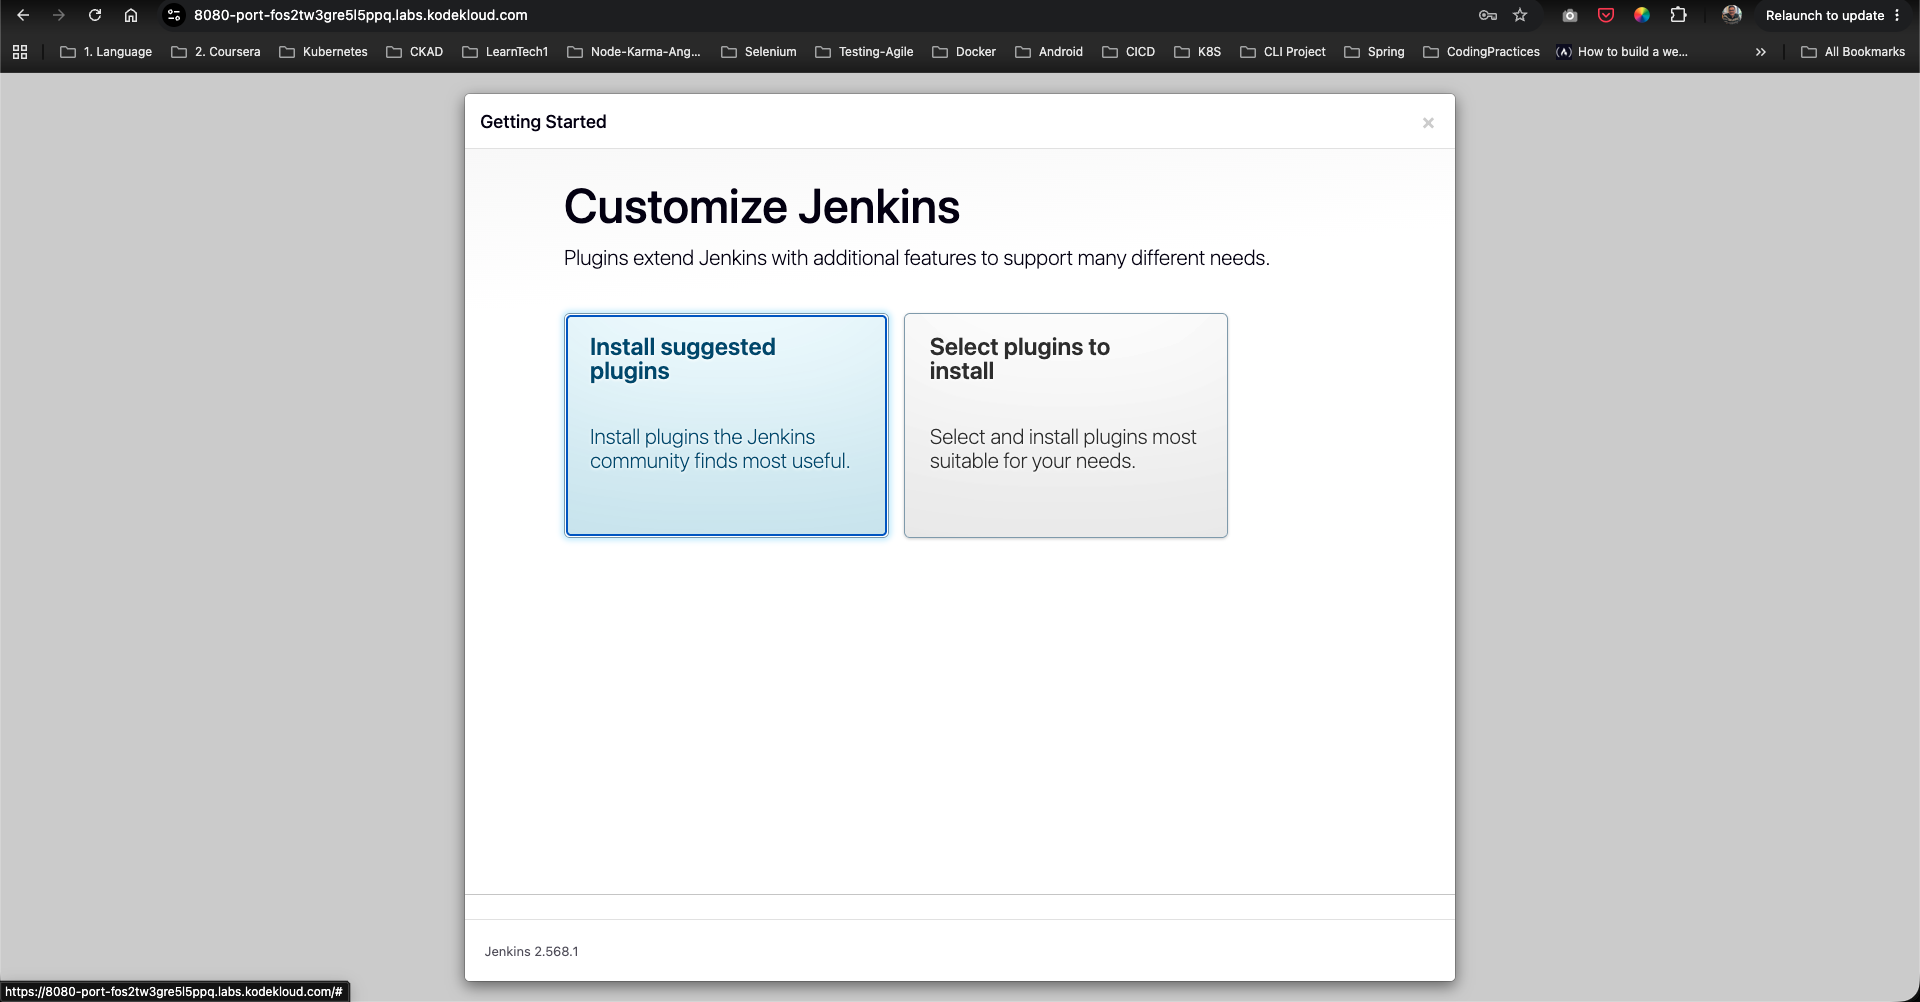
Step 2: Install Suggested Plugins
On the customize page, click the Install suggested plugins option. This installs basic plugins for source control (Git), pipelines, credentials management, and node configurations.
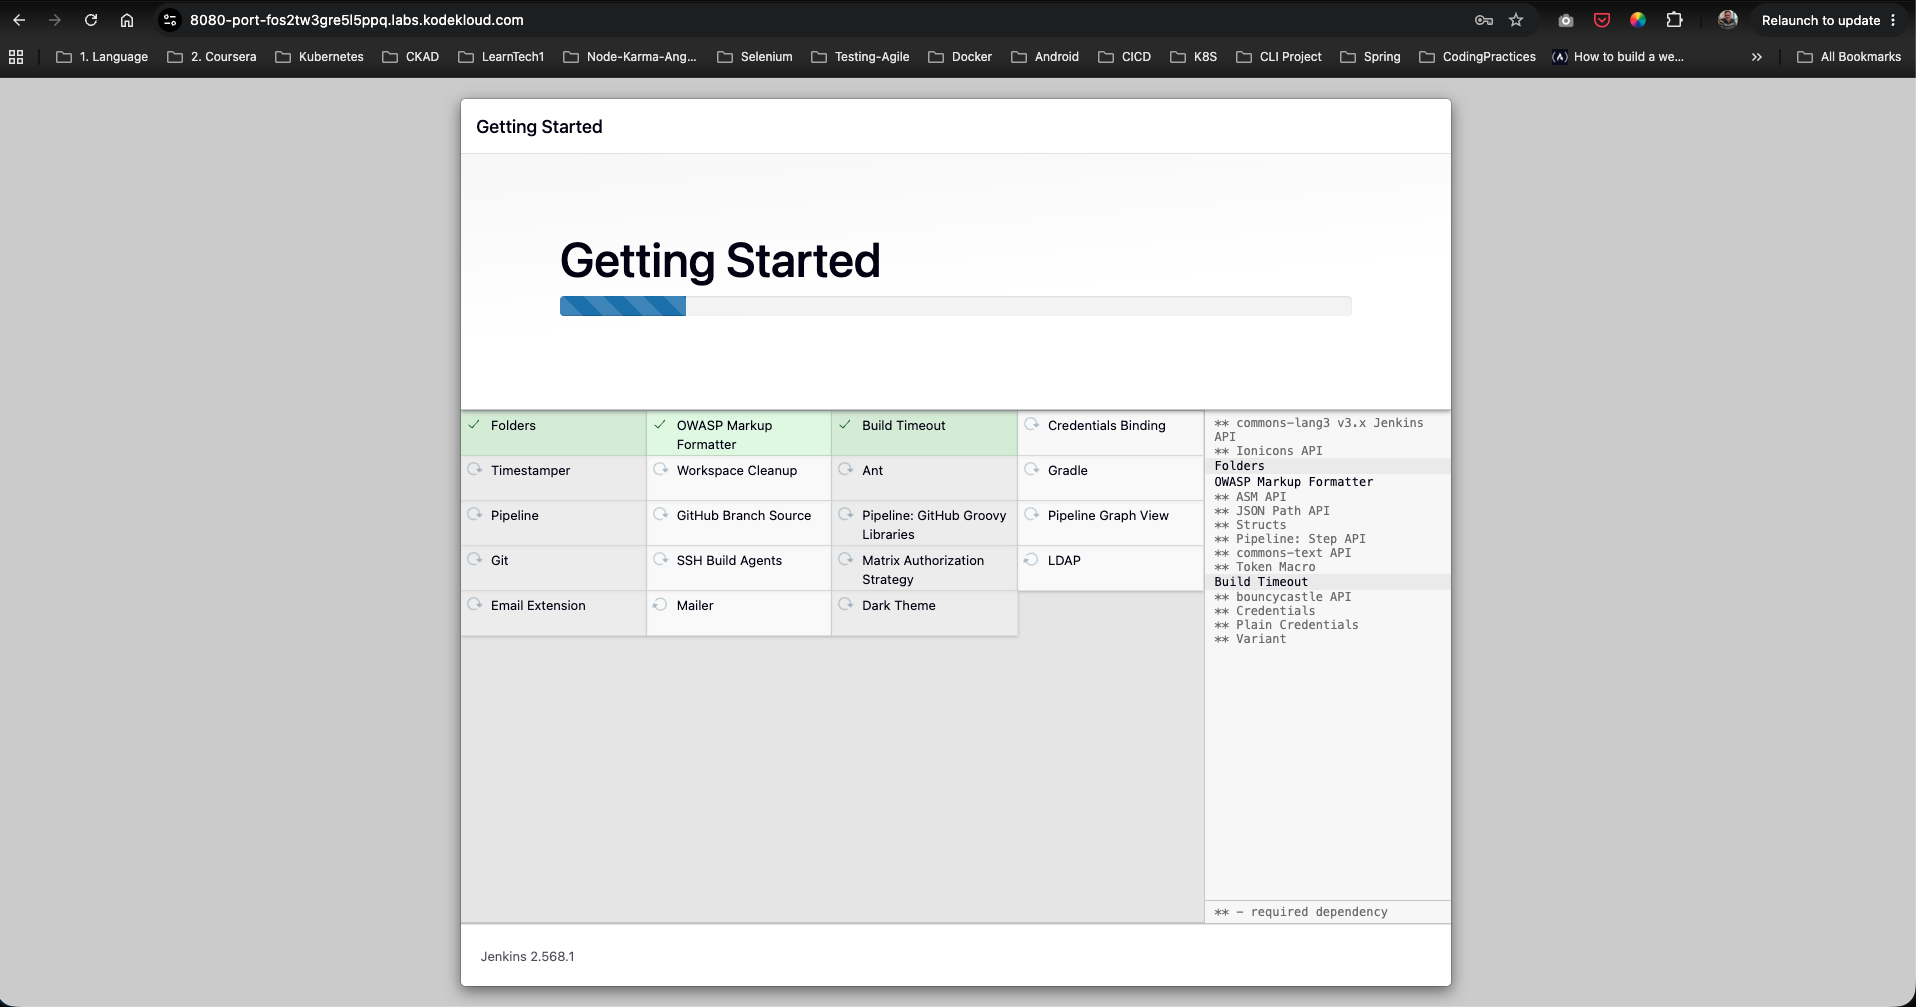
The setup wizard will begin installing the baseline set of plugins:
Step 3: Create the Admin Account
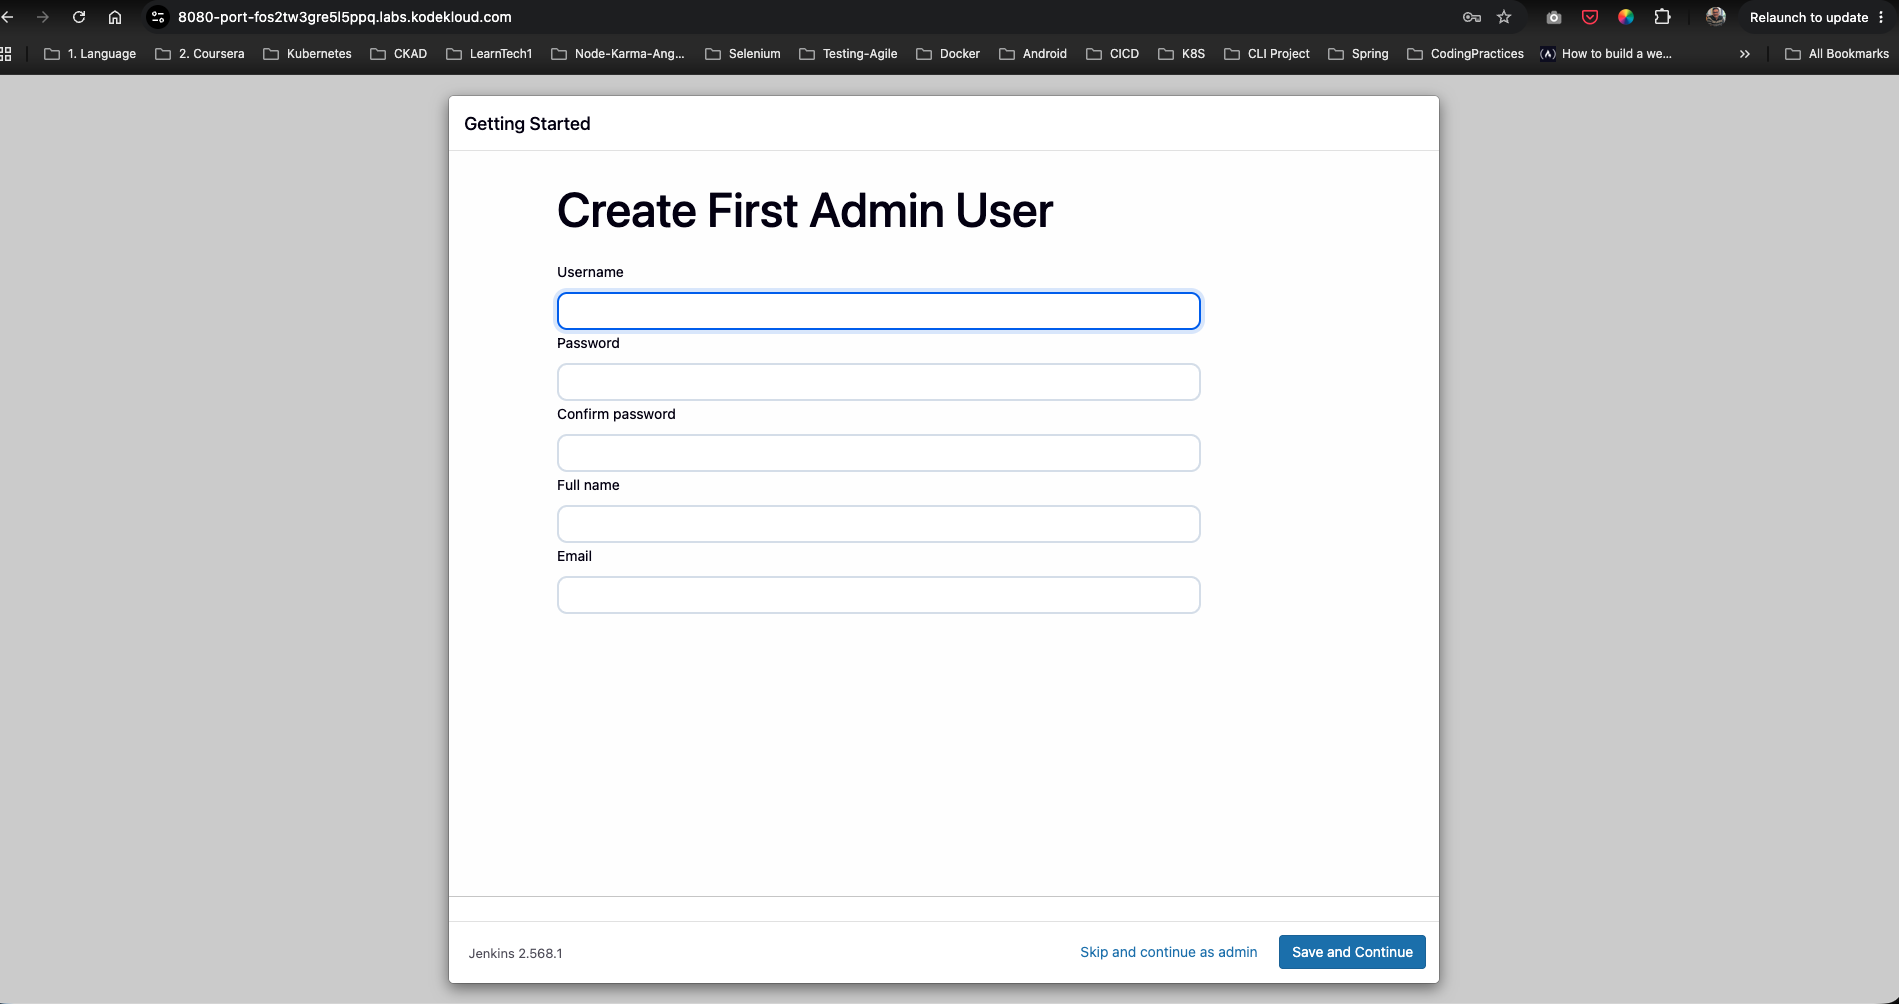
In the Create First Admin User screen, fill out the form using the exact configurations required:
- Username:
theadmin - Password:
Adm!n321 - Confirm password:
Adm!n321 - Full name:
Rose - E-mail address:
rose@jenkins.stratos.xfusioncorp.com
Click Save and Continue.
Step 4: Complete Instance Configuration
- Verify that the Jenkins URL is auto-detected correctly (e.g.,
http://jenkins:8080/or the server’s IP address).
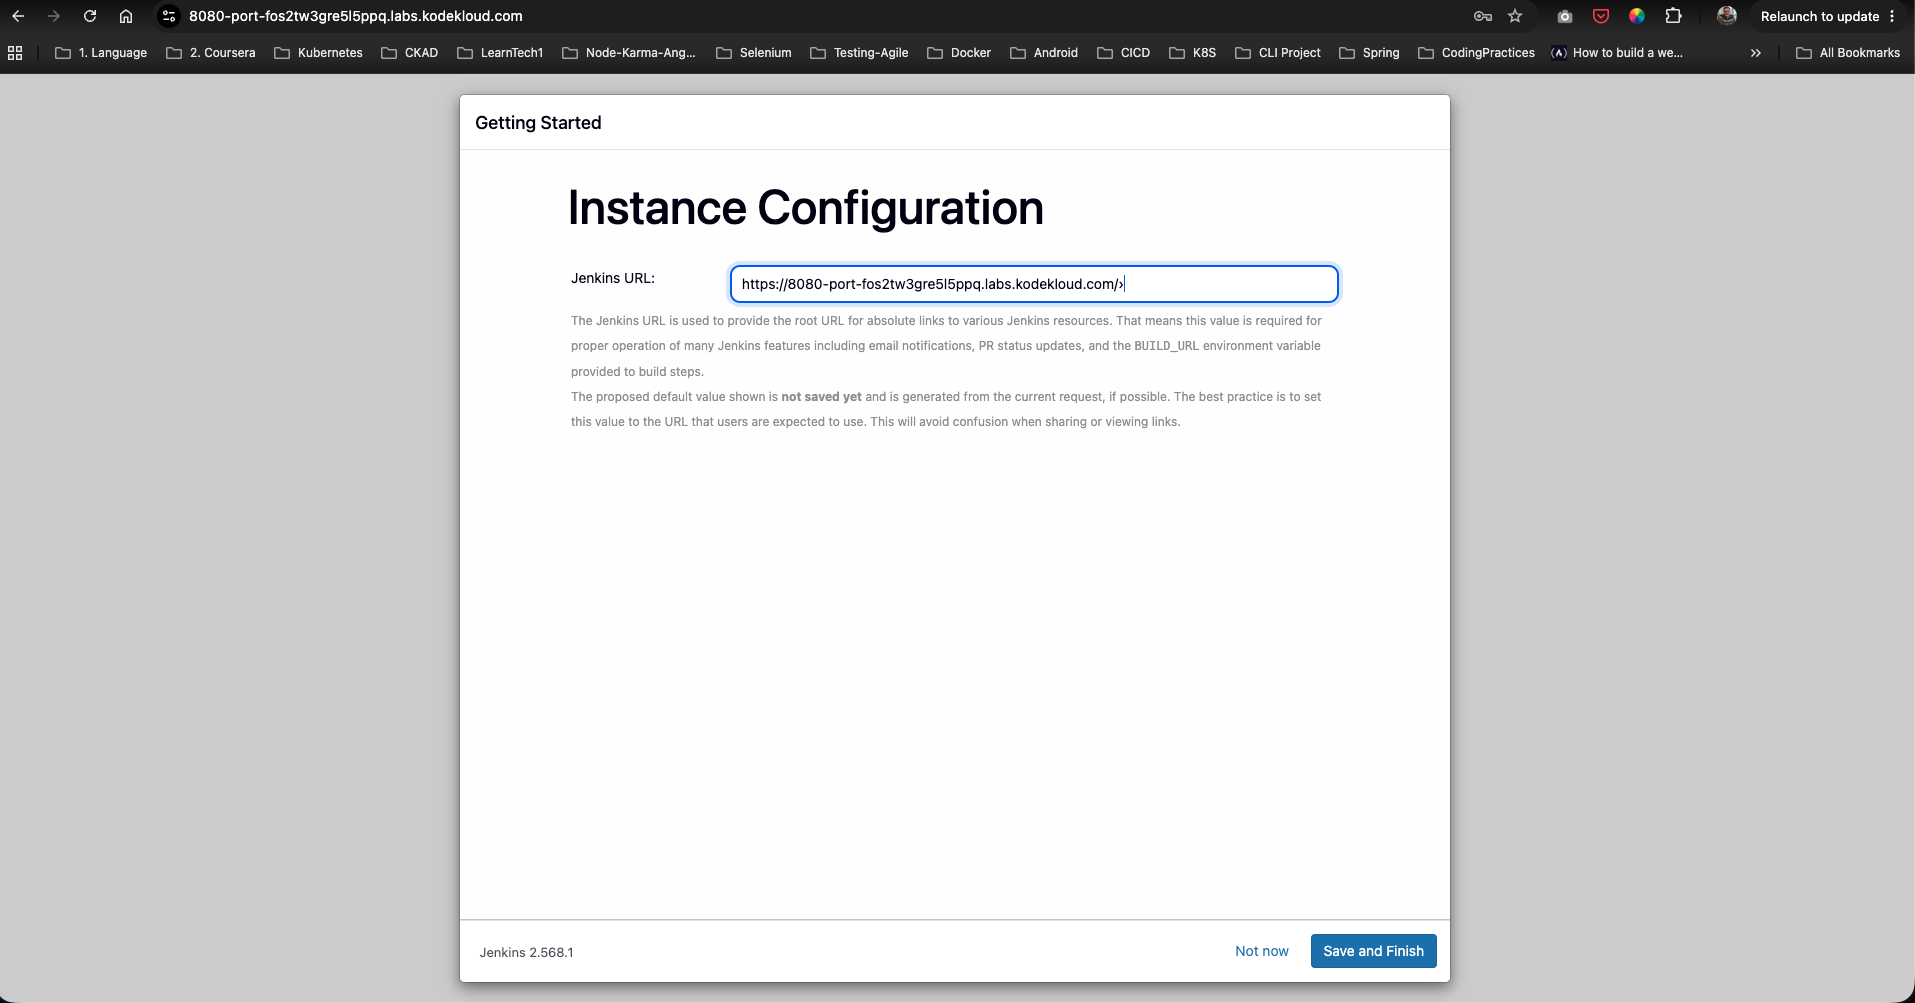
- Click Save and Finish.
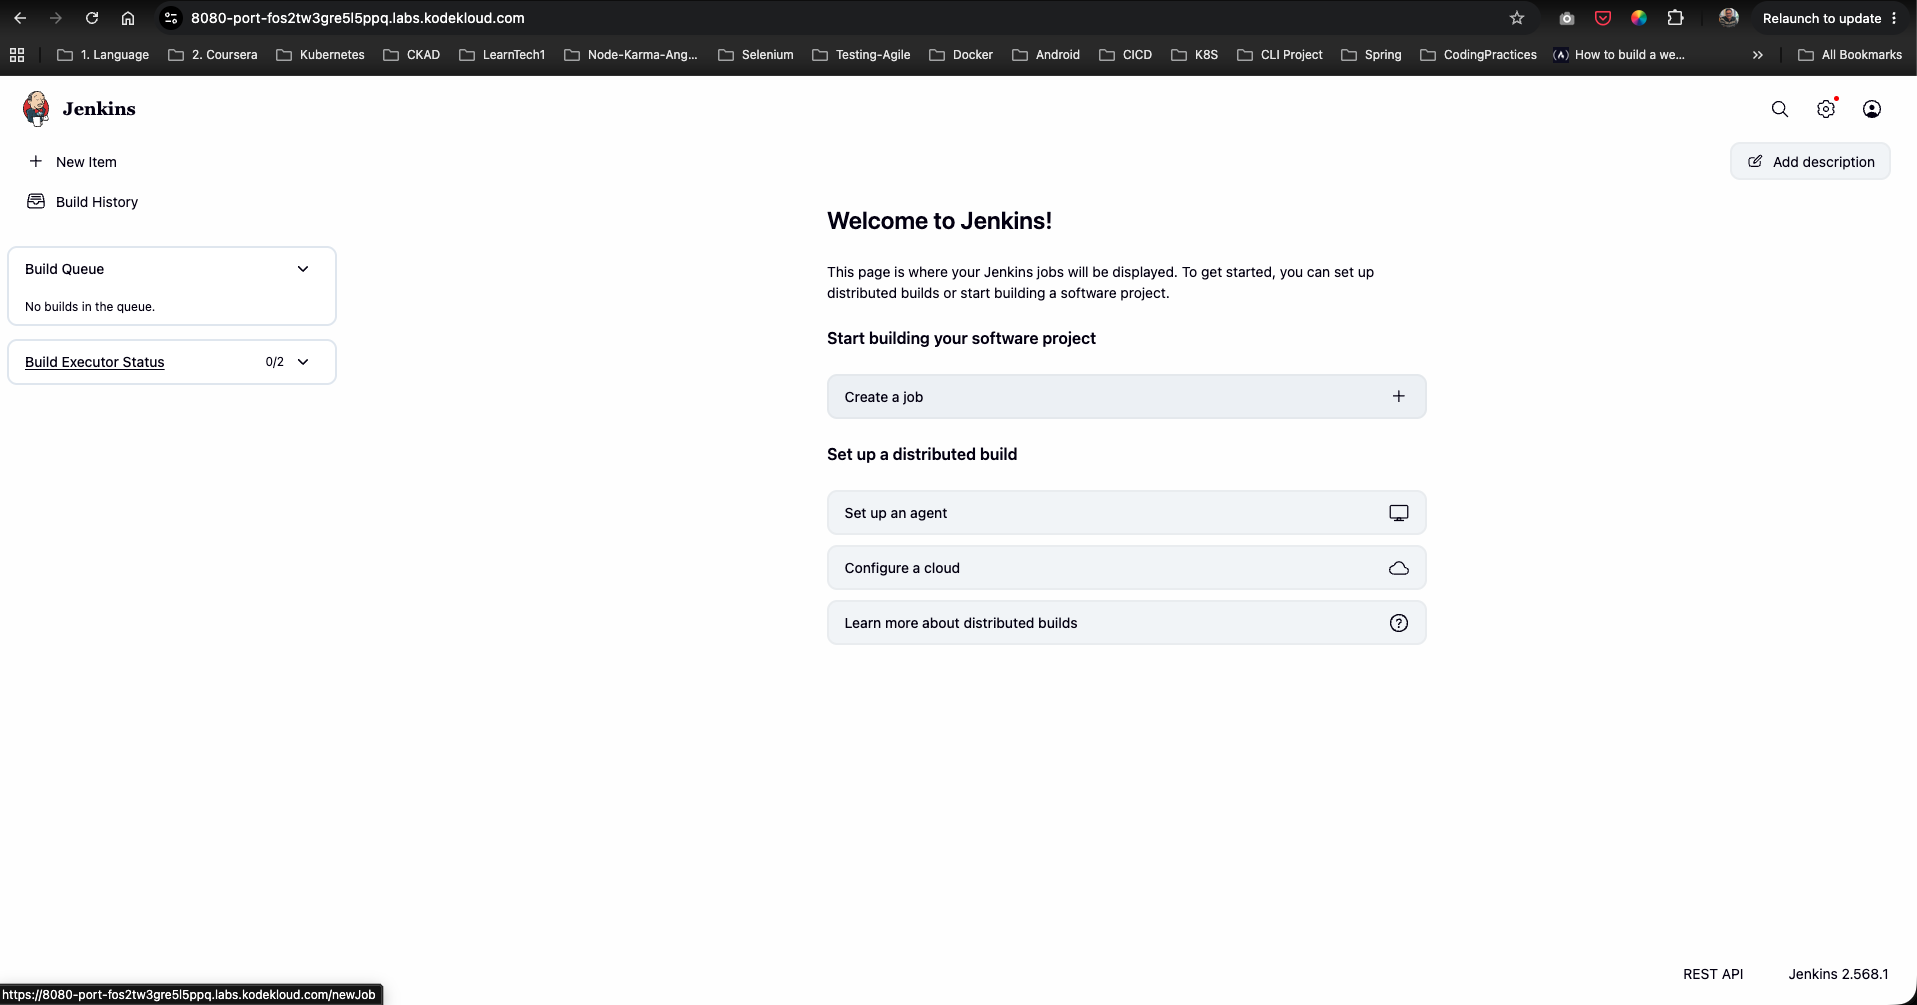
- Click Start using Jenkins to log into the main Jenkins dashboard.
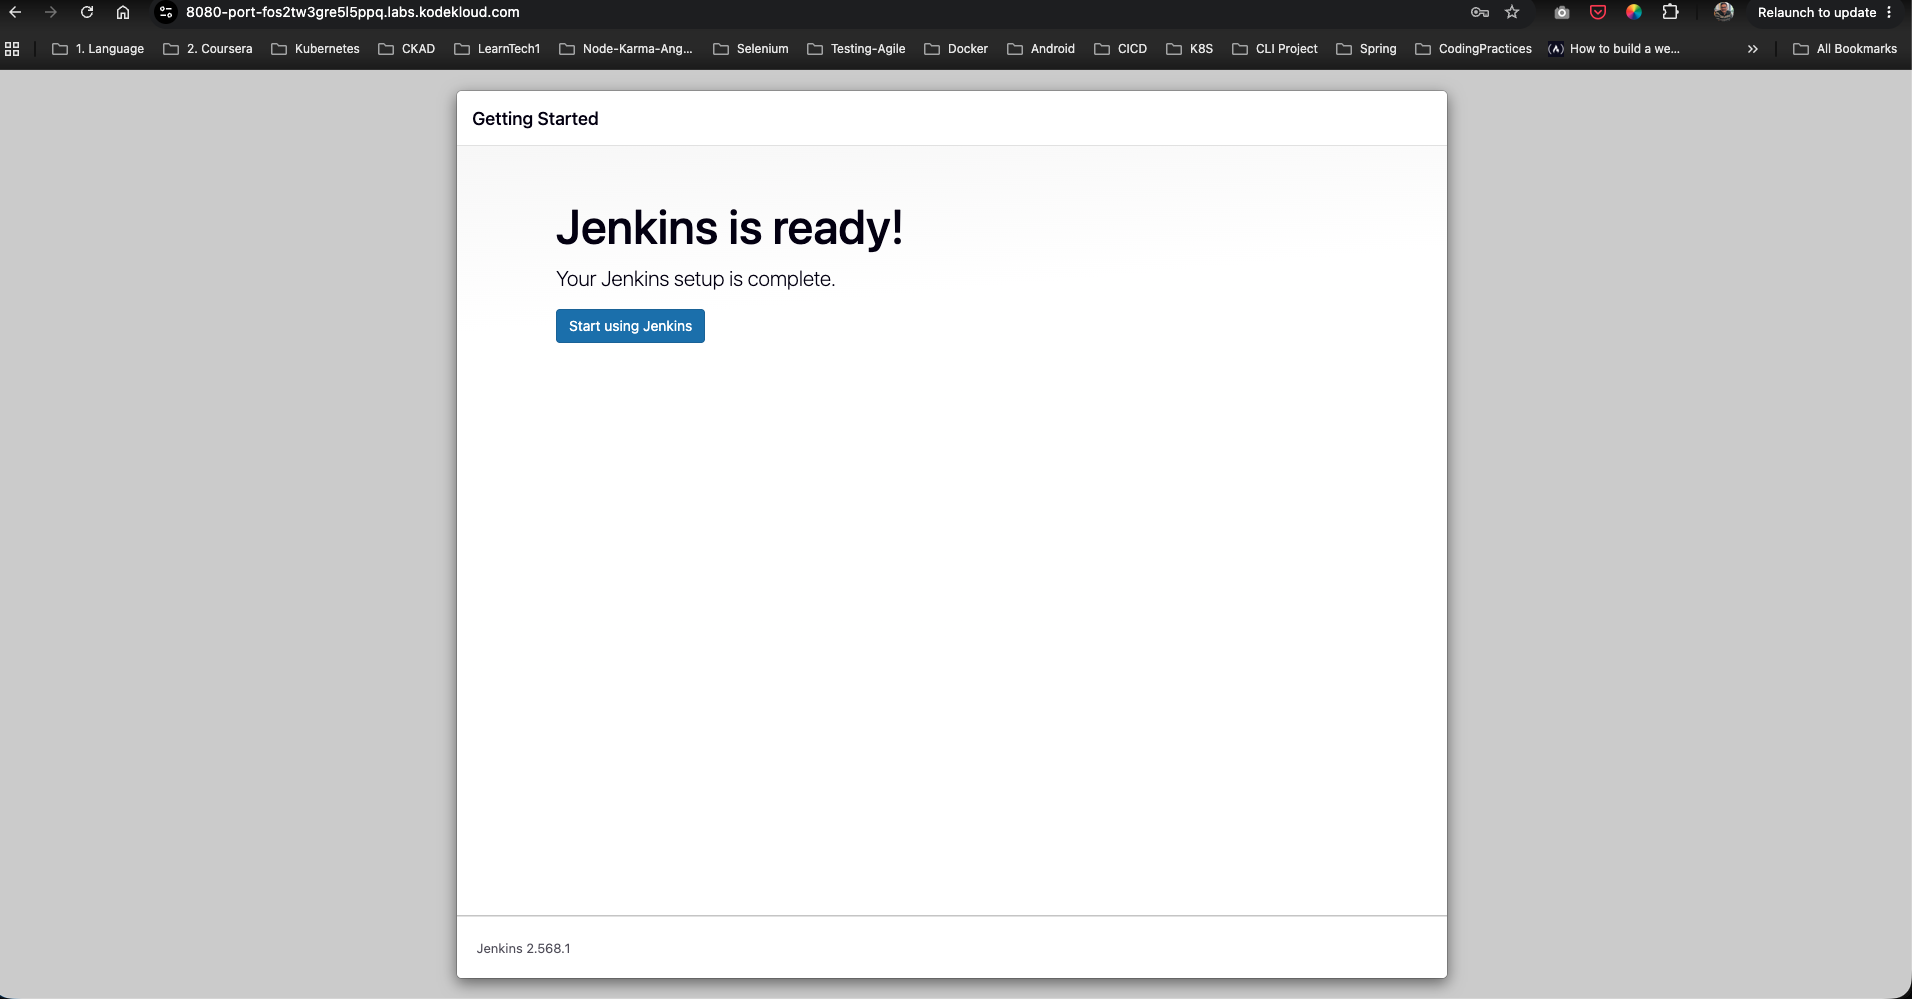
Once finished, the web browser will load the default Jenkins welcome page:
Troubleshooting & Verification
1. Verify Service Daemon
If a service timeout occurs during start, check the status or restart the service:
service jenkins restart
2. Inspect Jenkins Log Output
If Jenkins fails to boot, inspect the standard output log stream:
cat /var/log/jenkins/jenkins.log
The Jenkins CI/CD Server is now fully installed, configured, and ready to host automation jobs!