dev-ops-challenges
Schedule Jenkins Job to Copy Apache Logs Periodically
Technical Overview
Log collection and periodic archiving are crucial components of automated security operations and infrastructure observability. In a multi-tier enterprise architecture, web servers continuously generate access and error logs that must be routinely copied to central storage nodes for auditing and analysis.
Jenkins provides native cron-style scheduling capabilities via Build Periodically triggers, allowing infrastructure engineers to automate recurring operational jobs without manual intervention.
This task implements:
- Periodic Cron Trigger: Scheduling job execution every 12 minutes (
*/12 * * * *). - SSH Server Agent Integration: Configuring the Publish Over SSH plugin to establish secure remote management sessions on App Server 1 (
stapp01). - Cross-Server Log Transfer: Executing non-interactive Secure Copy (
scp) commands to transfer Apache logs (access_loganderror_log) from/var/log/httpd/onstapp01to/usr/src/security/on the Storage Server (ststor01).
graph TD
    subgraph CronScheduler ["Jenkins Controller (Cron)"]
        Trigger["Build Periodically Trigger: */12 * * * *"]
        Job["Freestyle Job: copy-logs"]
        SSHPlugin["Publish Over SSH Plugin"]
    end

    subgraph AppServer ["App Server 1 (stapp01)"]
        SSHService["SSH Daemon (User: tony)"]
        ApacheLogs["Apache Logs (/var/log/httpd/)<br/>- access_log<br/>- error_log"]
        SCPClient["SCP Transfer Client"]
    end

    subgraph StorageServer ["Storage Server (ststor01)"]
        DestDir["Storage Target Directory<br/>/usr/src/security/"]
    end

    Trigger -->|1. Triggers Job Every 12 Mins| Job
    Job -->|2. Invoke Remote Step| SSHPlugin
    SSHPlugin -->|3. Connect via SSH| SSHService
    SSHService -->|4. Read Log Files| ApacheLogs
    ApacheLogs -->|5. Execute SCP Command| SCPClient
    SCPClient -->|6. Transfer Files over SSH| DestDir
Cron Scheduling & Remote Transfer Deep Dive
1. Cron Schedule Syntax in Jenkins
Jenkins uses a standard 5-field cron syntax (MINUTE HOUR DOM MONTH DOW) with enhanced syntax helpers:
*/12 * * * *: Evaluates to “execute every 12 minutes of every hour, every day of the month, every month, every day of the week”.- Jenkins parses cron expressions against system local time and automatically schedules future builds into the execution queue.
2. Remote Orchestration via Publish Over SSH
The Publish Over SSH plugin enables Jenkins to interact with remote servers without installing dedicated Jenkins build agents:
- Global SSH Registry: Remote target servers are defined in Manage Jenkins -> System under Publish Over SSH (specifying hostname, SSH port, username, and authentication passphrases or keys).
- Remote Build Action: The job delegates execution steps to the configured SSH target, running remote commands natively on the destination host.
Infrastructure & Configuration Requirements
- Jenkins Controller Access: Web Browser (HTTP) on port
8080 - Admin Credentials:
admin/Adm!n321
Server Credentials & Hosts
- App Server 1 Hostname:
stapp01 - App Server 1 SSH User:
tony - Storage Server Hostname:
ststor01 - Storage Server SSH User:
natasha
File Transfer Specifications
- Source Log Files on
stapp01:/var/log/httpd/access_log,/var/log/httpd/error_log - Target Destination Directory on
ststor01:/usr/src/security/
Jenkins Job Specifications
- Job Name:
copy-logs - Job Type: Freestyle Project
- Build Trigger: Build Periodically (
*/12 * * * *) - Required Plugin:
Publish Over SSH - Execution Command:
scp -o StrictHostKeyChecking=no /var/log/httpd/access_log /var/log/httpd/error_log natasha@ststor01:/usr/src/security/
Step-by-Step Walkthrough
Step 0: Configure Passwordless SSH Authentication on App Server 1 (stapp01)
Before configuring the Jenkins job, establish non-interactive passwordless SSH authentication from stapp01 to ststor01 so that the automated scp command can execute without password prompts:
- Connect to App Server 1 (
stapp01) via SSH:ssh tony@stapp01 # Enter password for tony (e.g. Ir0nMan) - Generate an SSH Key Pair for
tony(if not already generated):ssh-keygen -t rsa -N "" -f ~/.ssh/id_rsa - Copy the Public Key to
ststor01(natashauser):ssh-copy-id natasha@ststor01 # Enter password for natasha (e.g. Am3r!ca) - Verify Non-Interactive Remote Directory Access & Test SCP:
# Test passwordless SSH connectivity
ssh -o StrictHostKeyChecking=no natasha@ststor01 "mkdir -p /usr/src/security/"

# Test manual SCP transfer from stapp01 to ststor01
scp -o StrictHostKeyChecking=no /var/log/httpd/access_log /var/log/httpd/error_log natasha@ststor01:/usr/src/security/
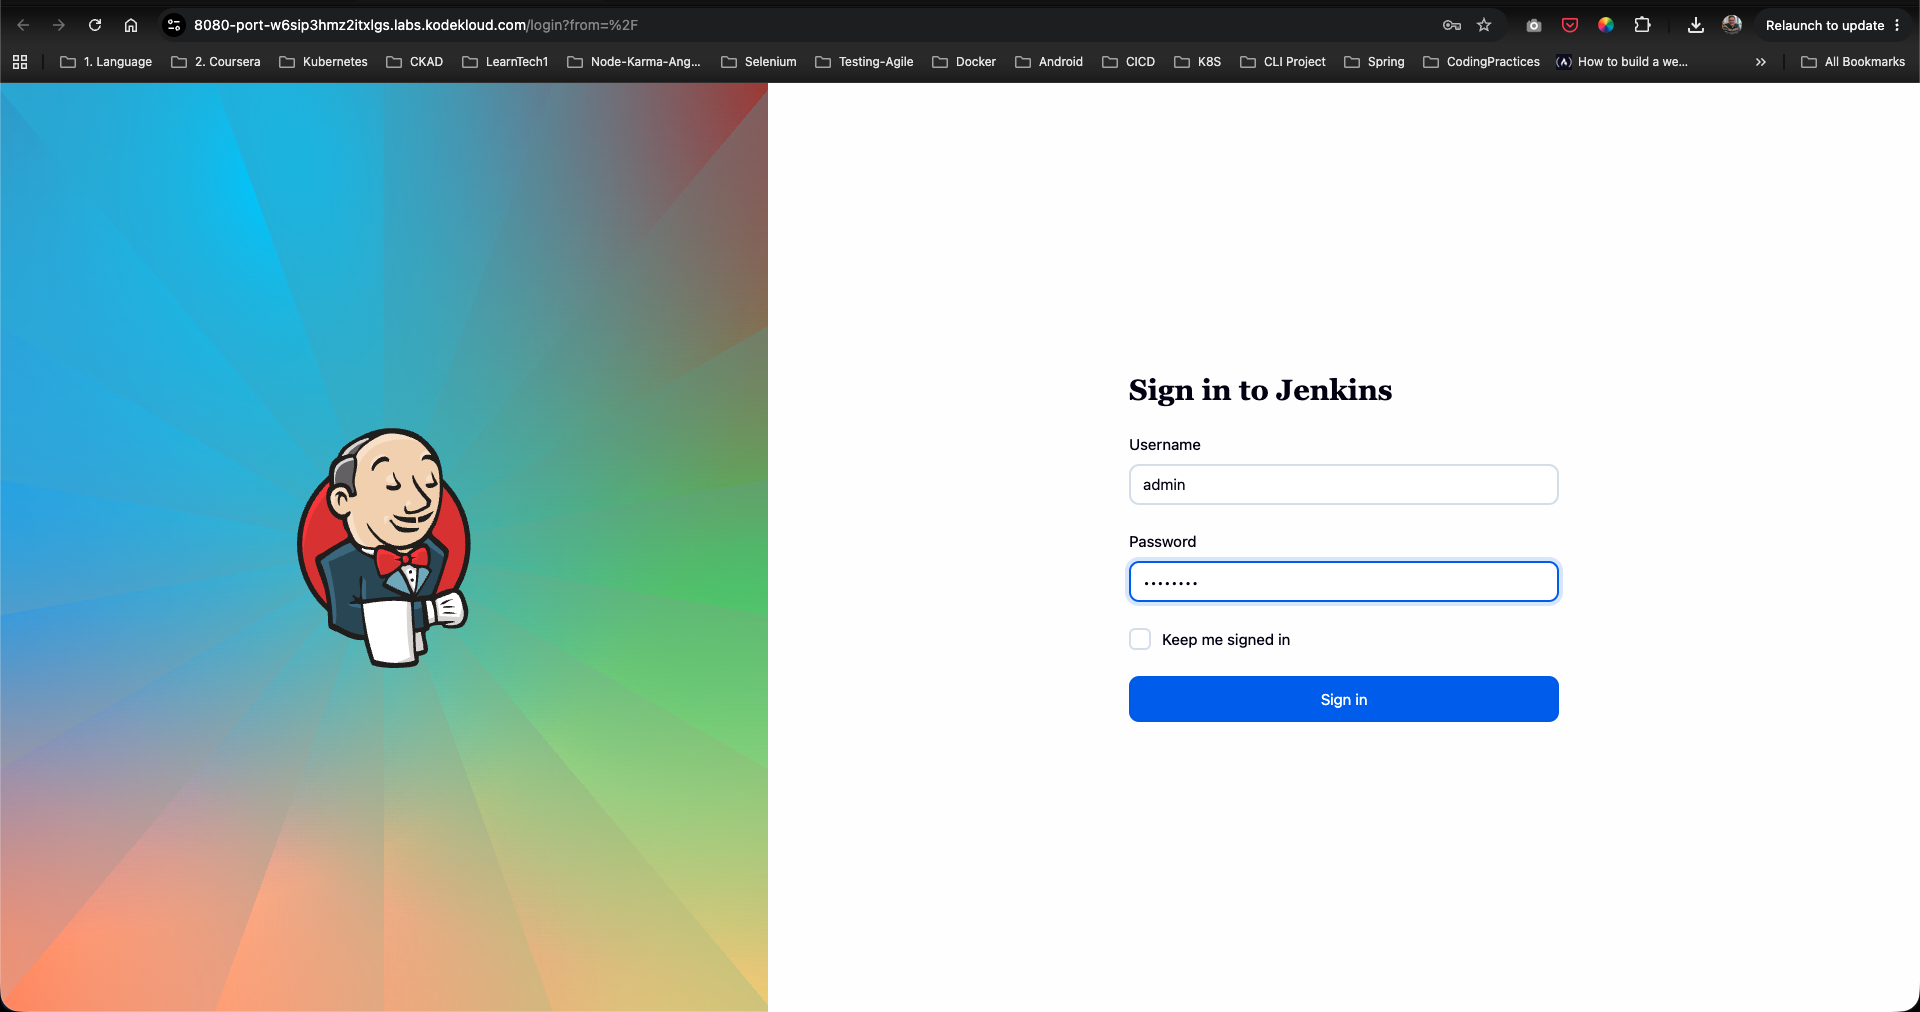
Step 1: Log in to the Jenkins Console
- Open your web browser and navigate to the Jenkins login page.
- Sign in using the administrative credentials:
- Username:
admin - Password:
Adm!n321
- Username:
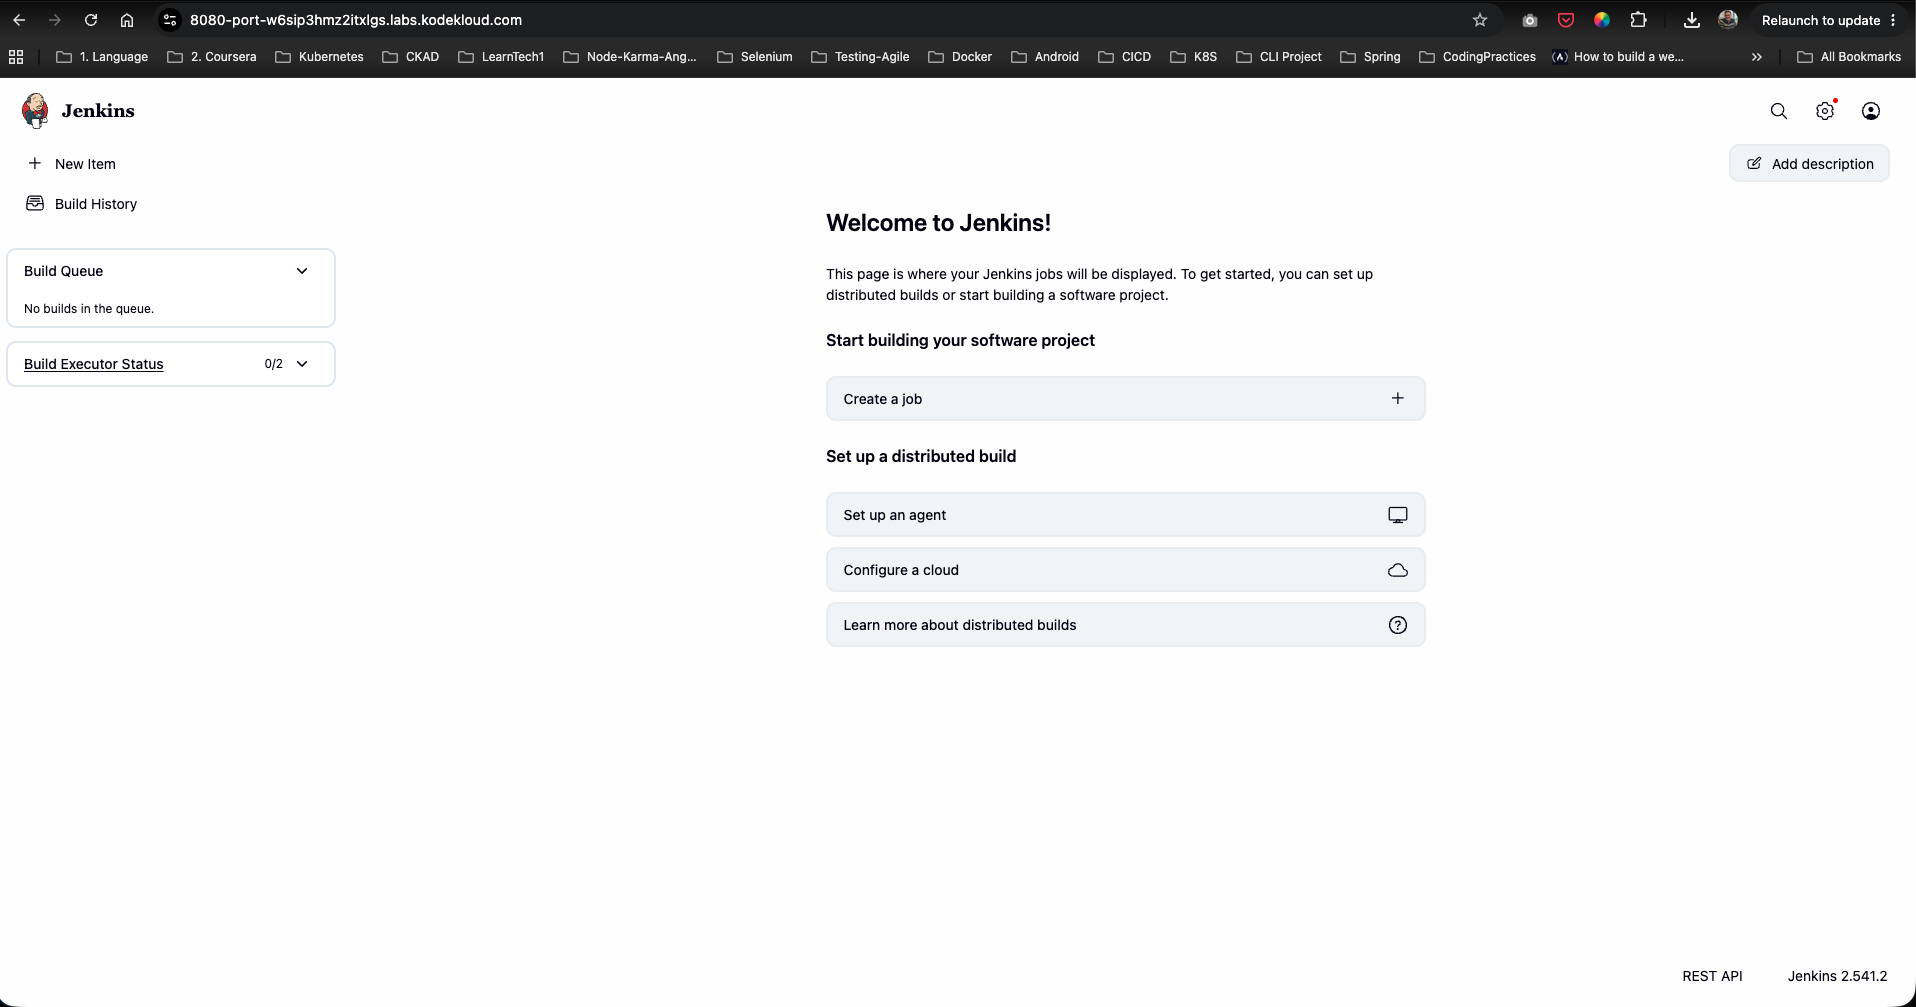
Step 2: Access the Dashboard
Upon signing in, verify access to the Jenkins welcome landing page:
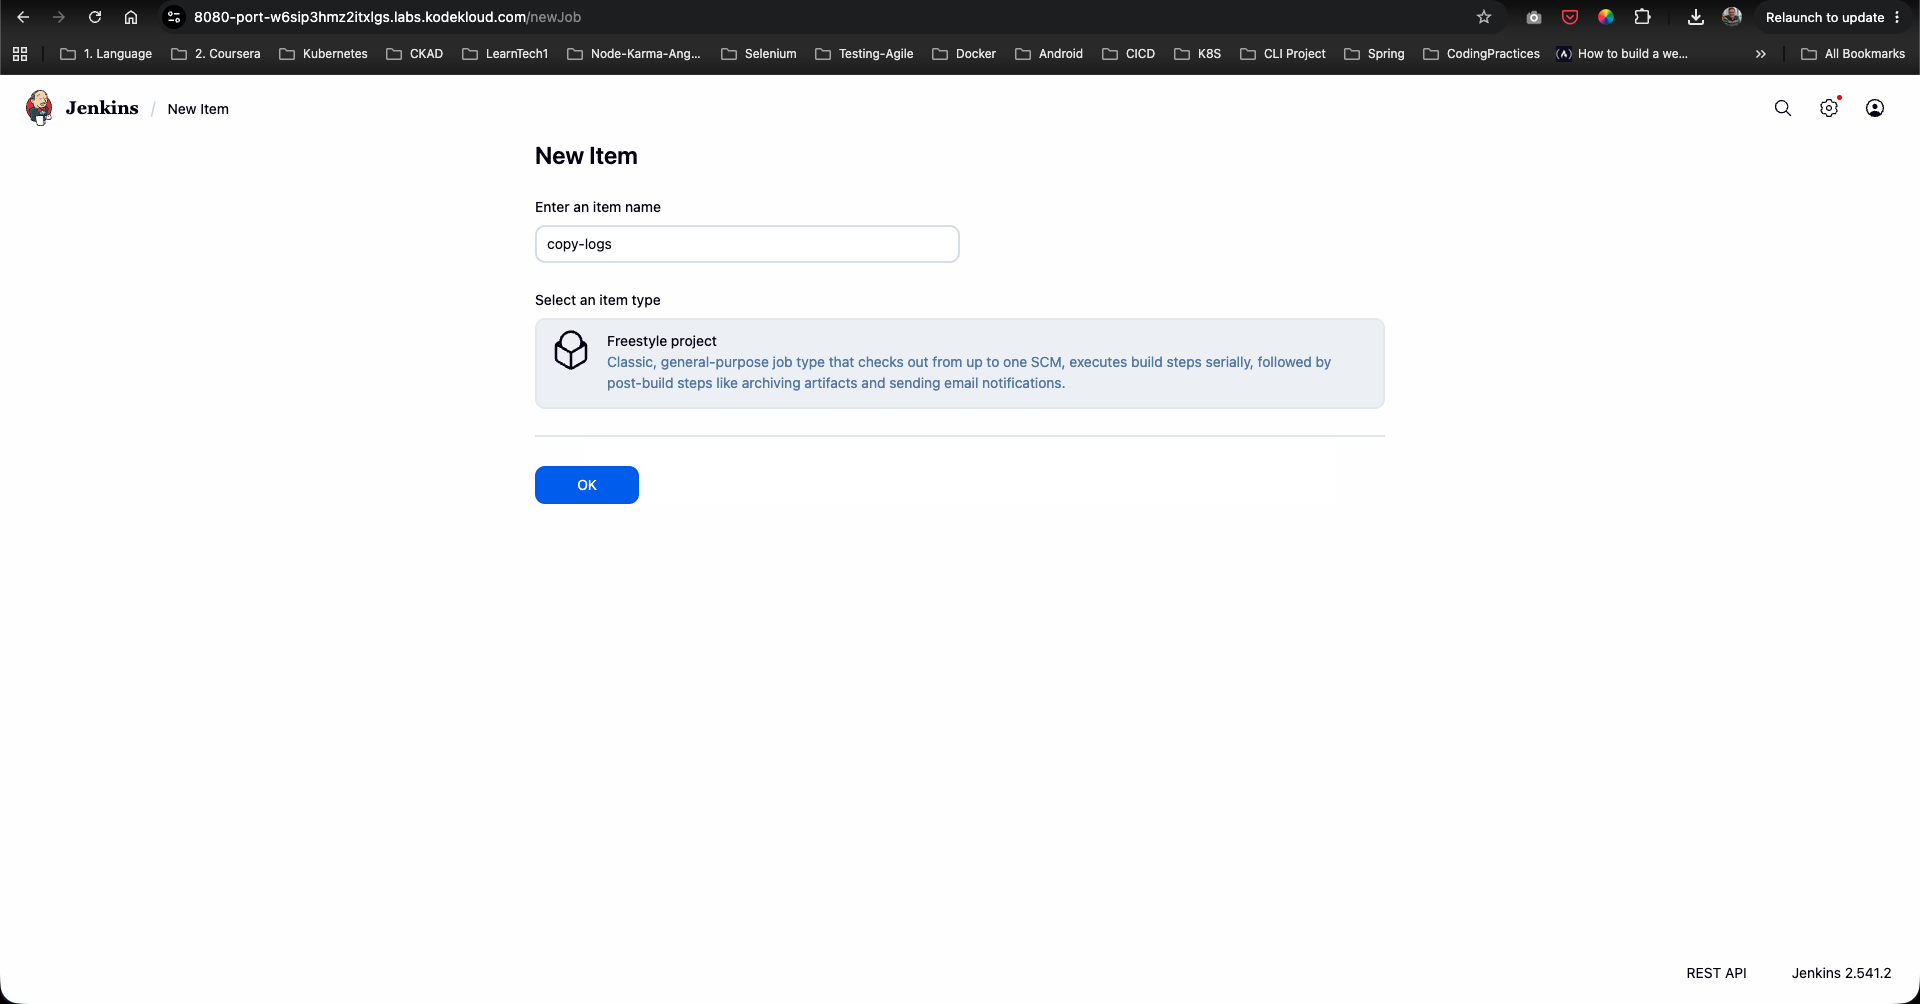
Step 3: Create the copy-logs Freestyle Project
- Click New Item on the left menu (or Create a job).
- Enter
copy-logsas the item name. - Select Freestyle project.
- Click OK.
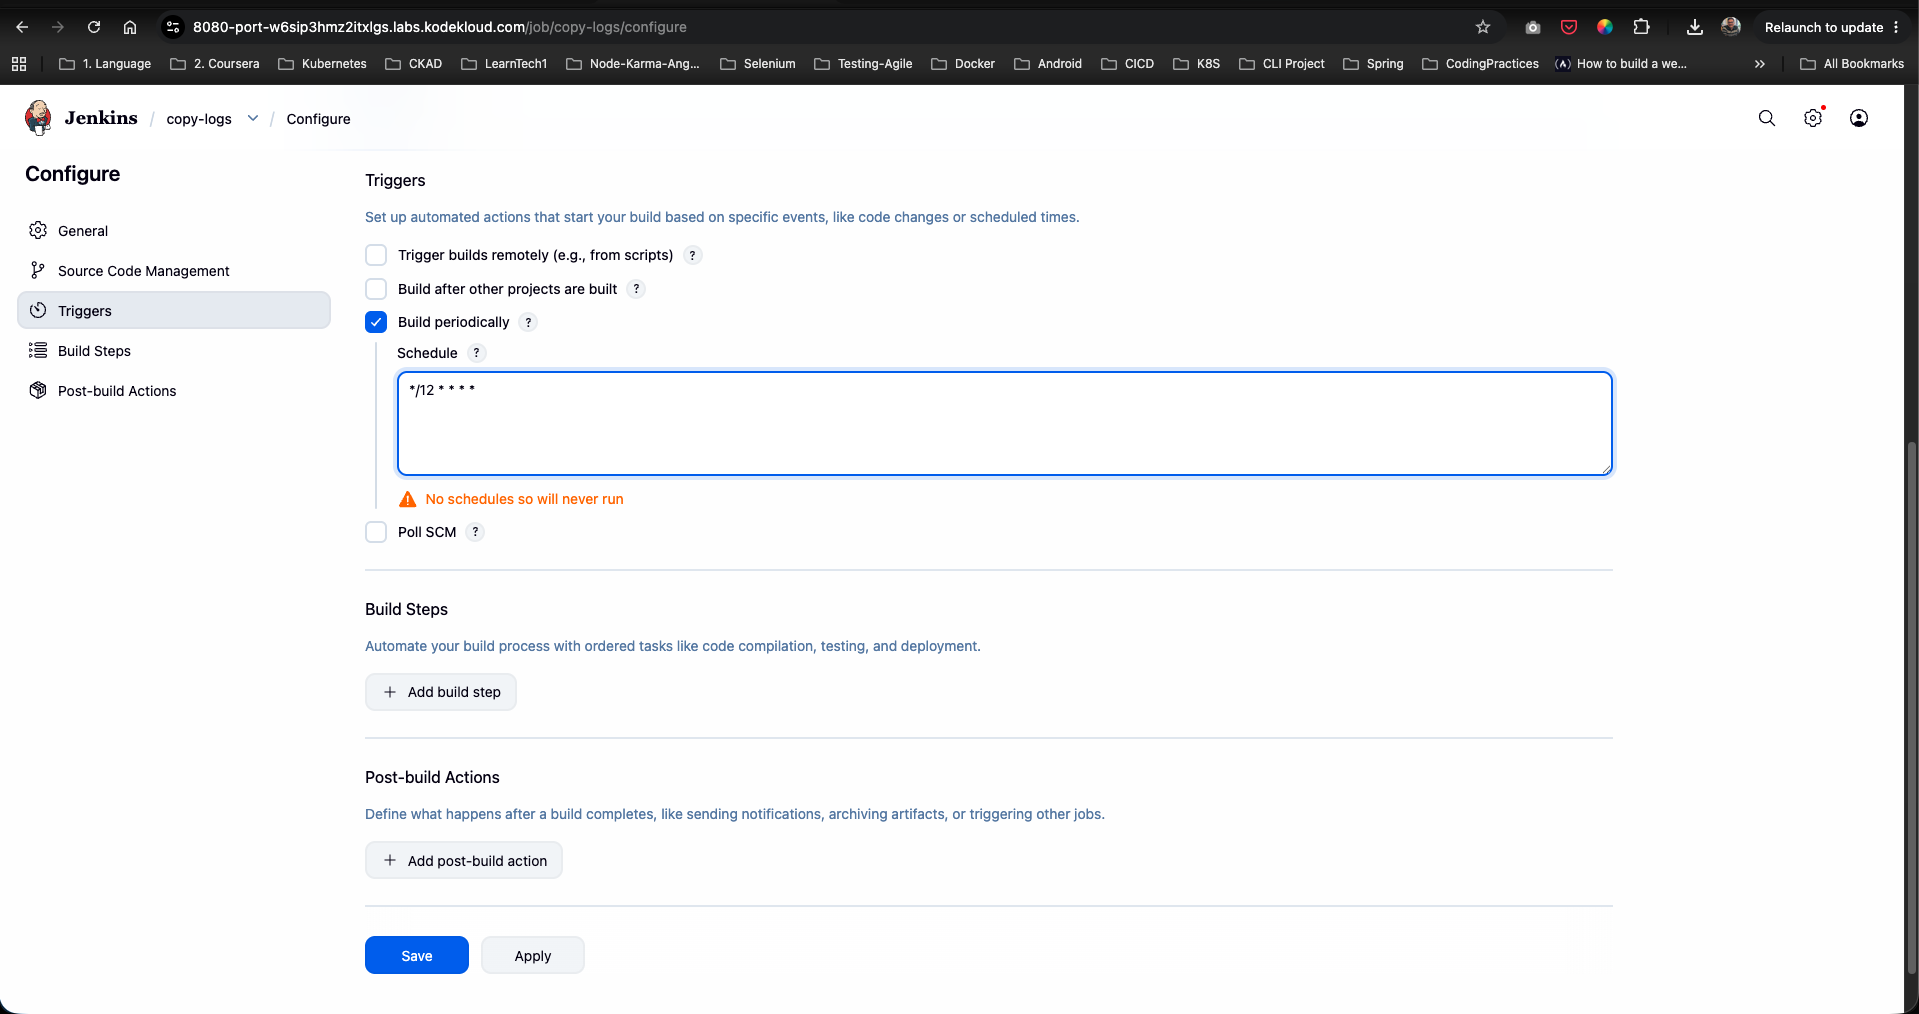
Step 4: Configure Periodic Build Schedule
- In the job configuration page, navigate to the Triggers tab.
- Check the box for Build periodically.
- In the Schedule text area, enter the cron expression:
*/12 * * * *
Step 5: Install the Publish Over SSH Plugin
- Open a new tab or navigate to Manage Jenkins -> Plugins.
- Go to the Available plugins tab and search for
Publish Over SSH. - Check the box next to Publish Over SSH and click Install.
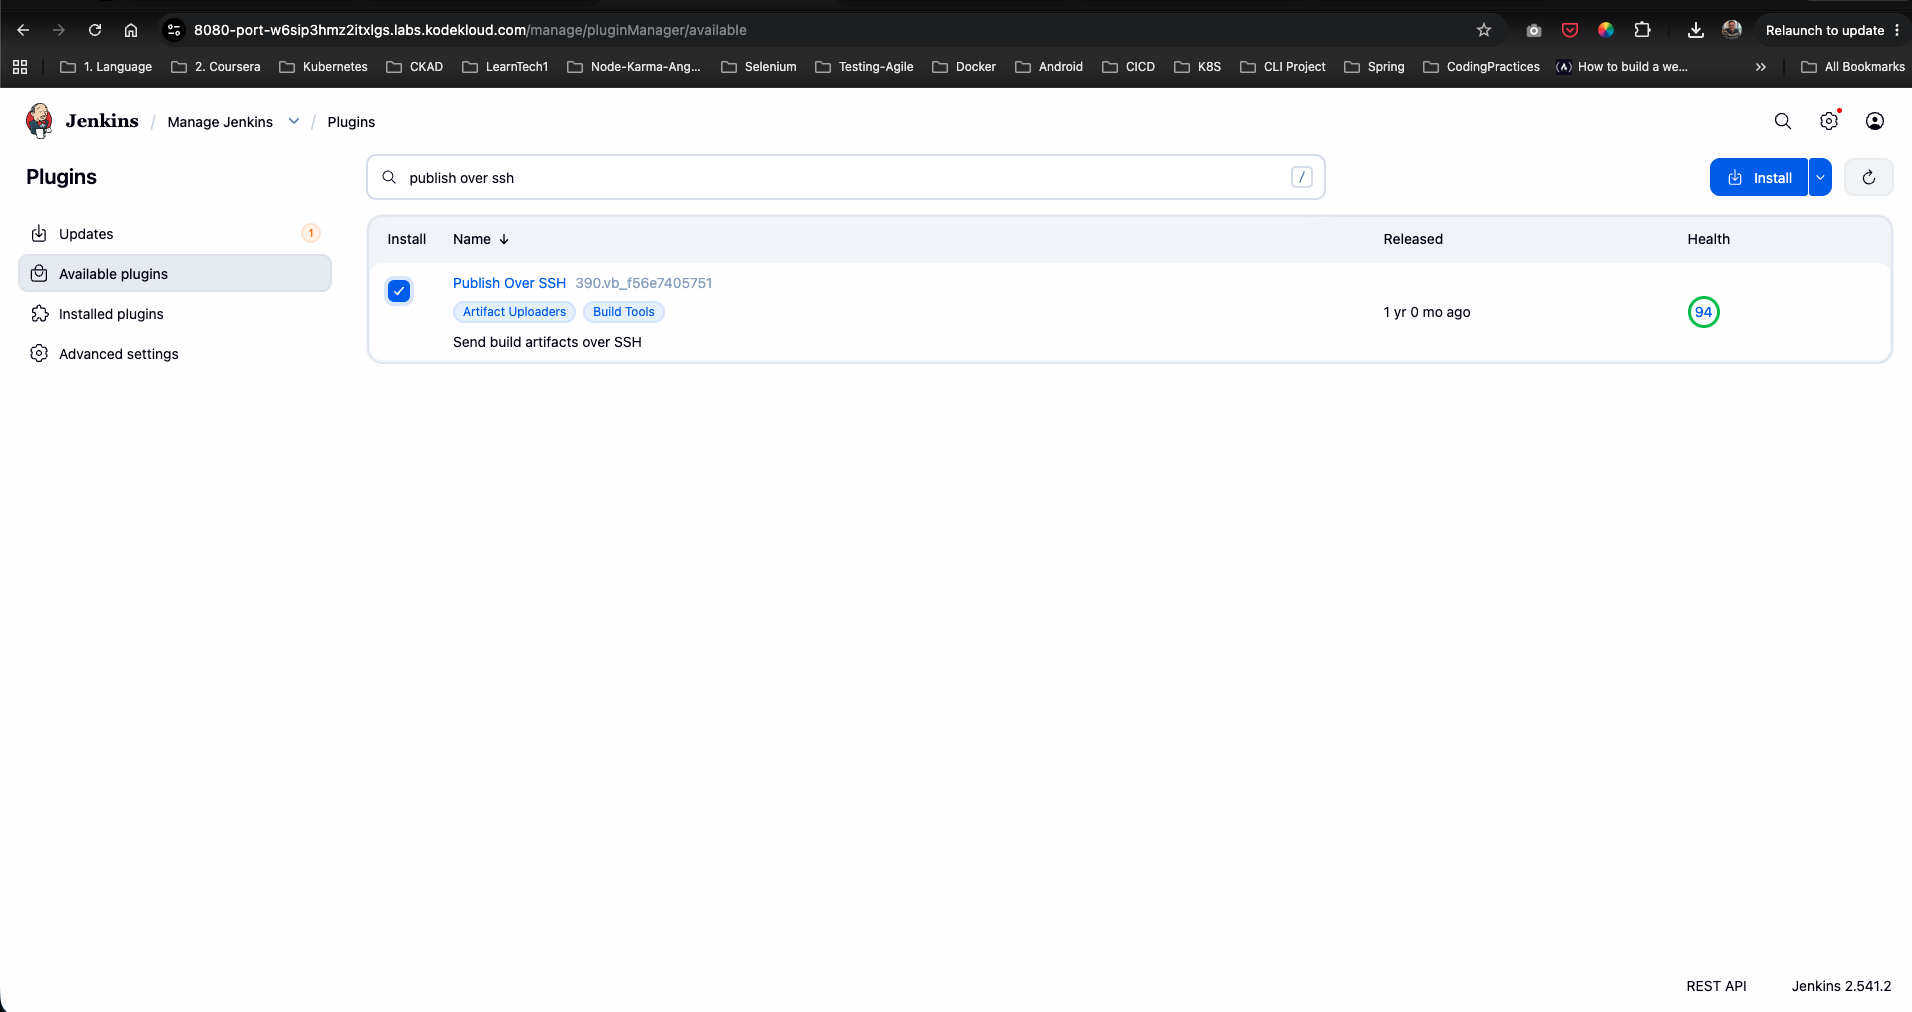
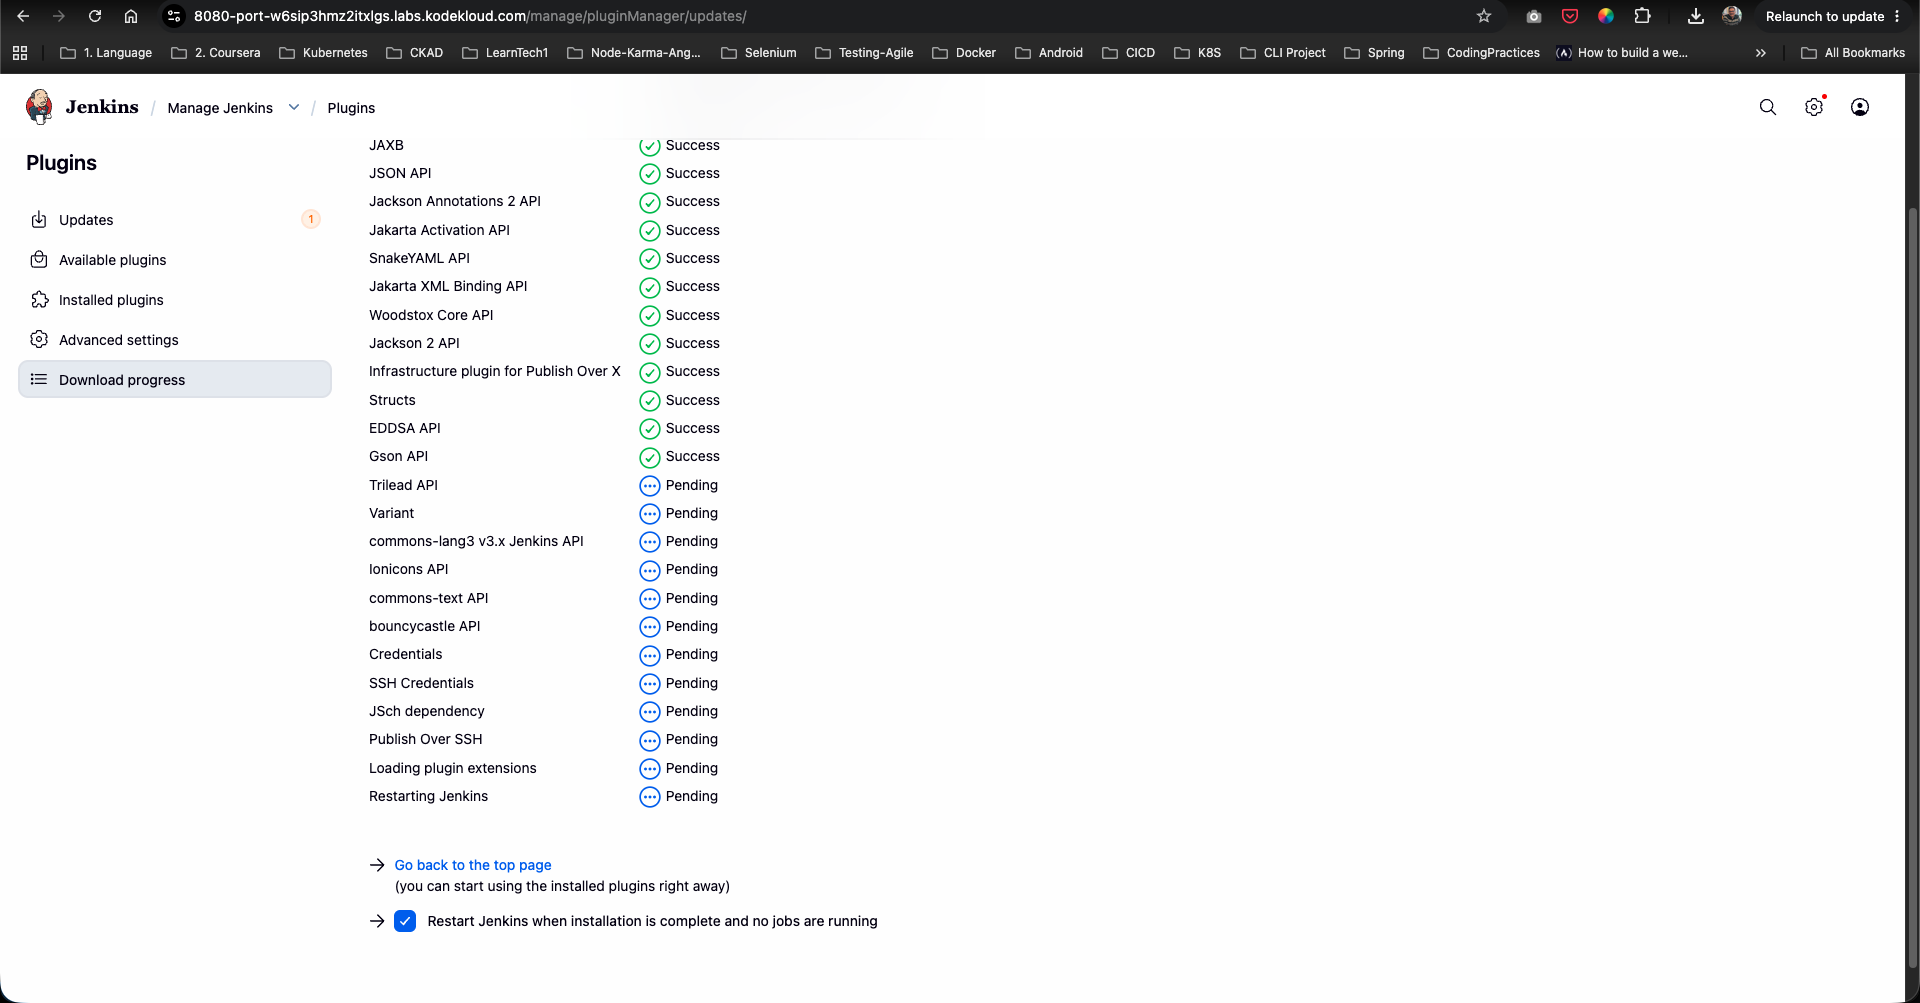
- On the installation progress page, check Restart Jenkins when installation is complete and no jobs are running.
- Wait for Jenkins to reboot and refresh the login screen.
Step 6: Access Global System Configuration
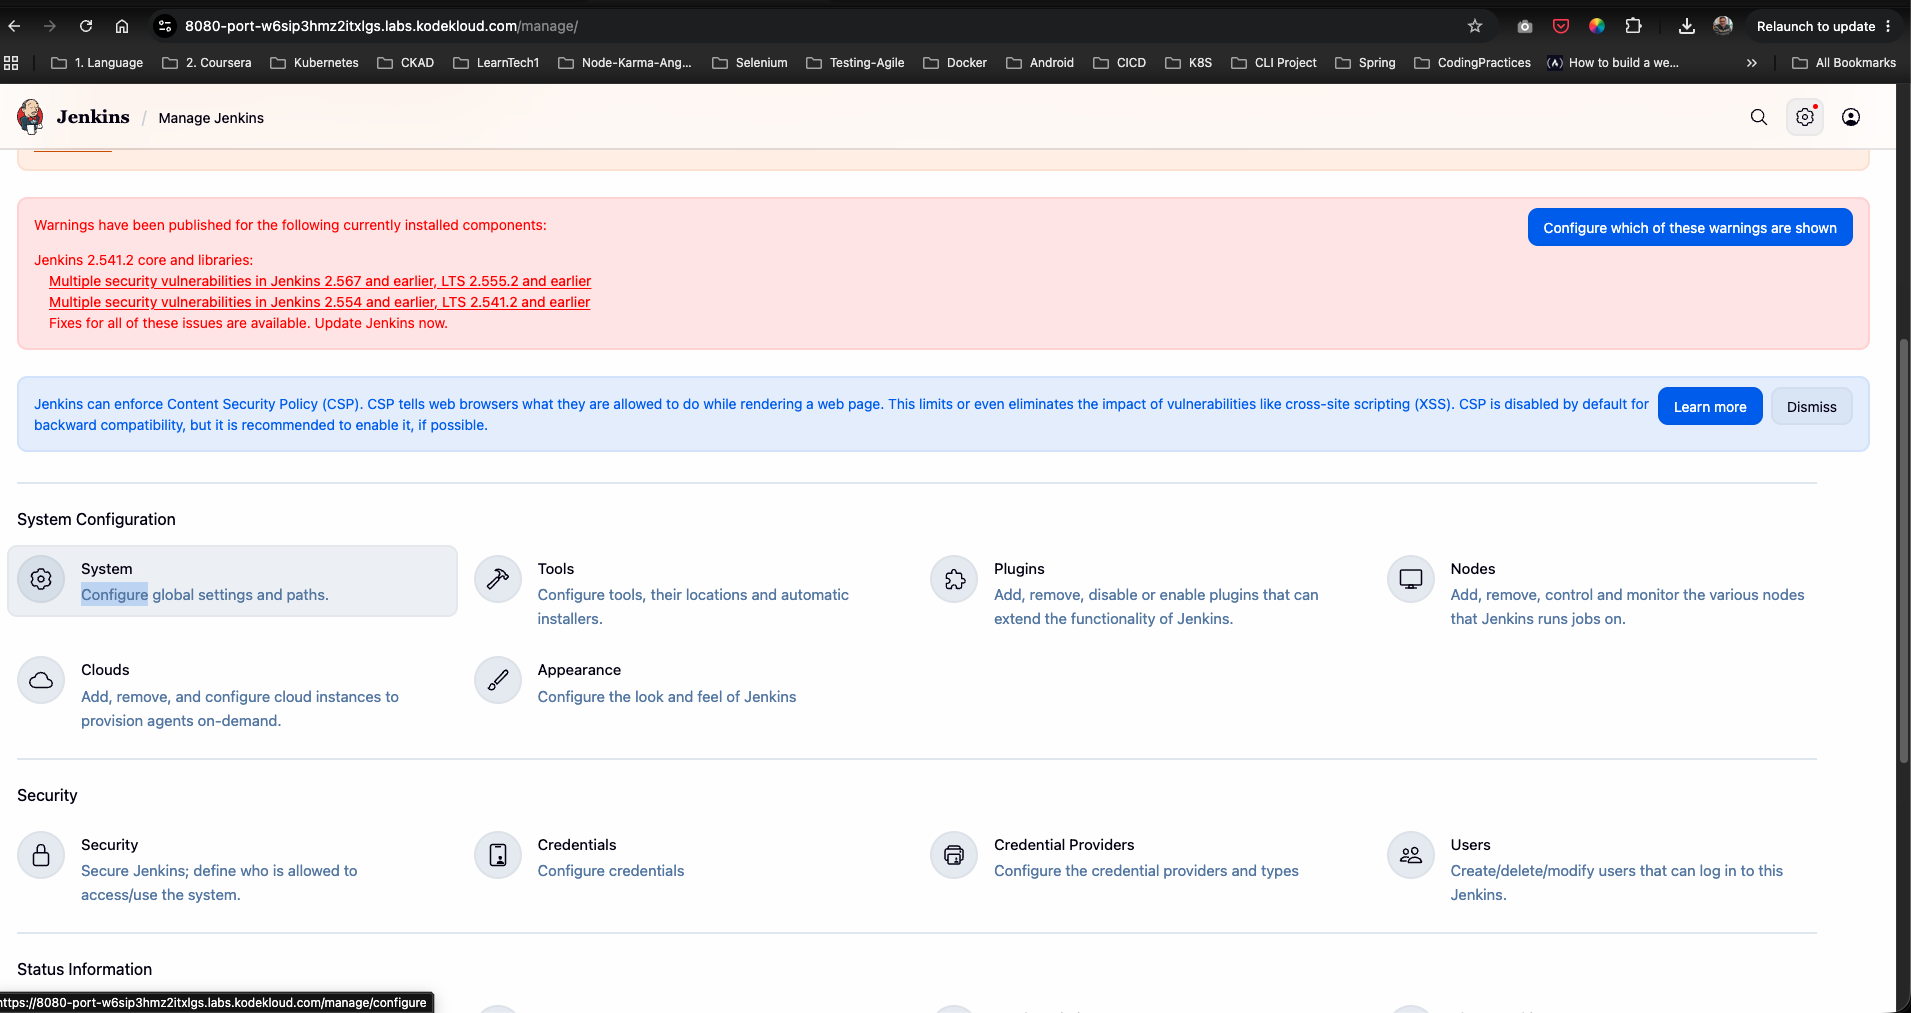
- Log back in as
admin. - Go to Manage Jenkins -> System (under System Configuration).
Step 7: Configure SSH Server Node for stapp01
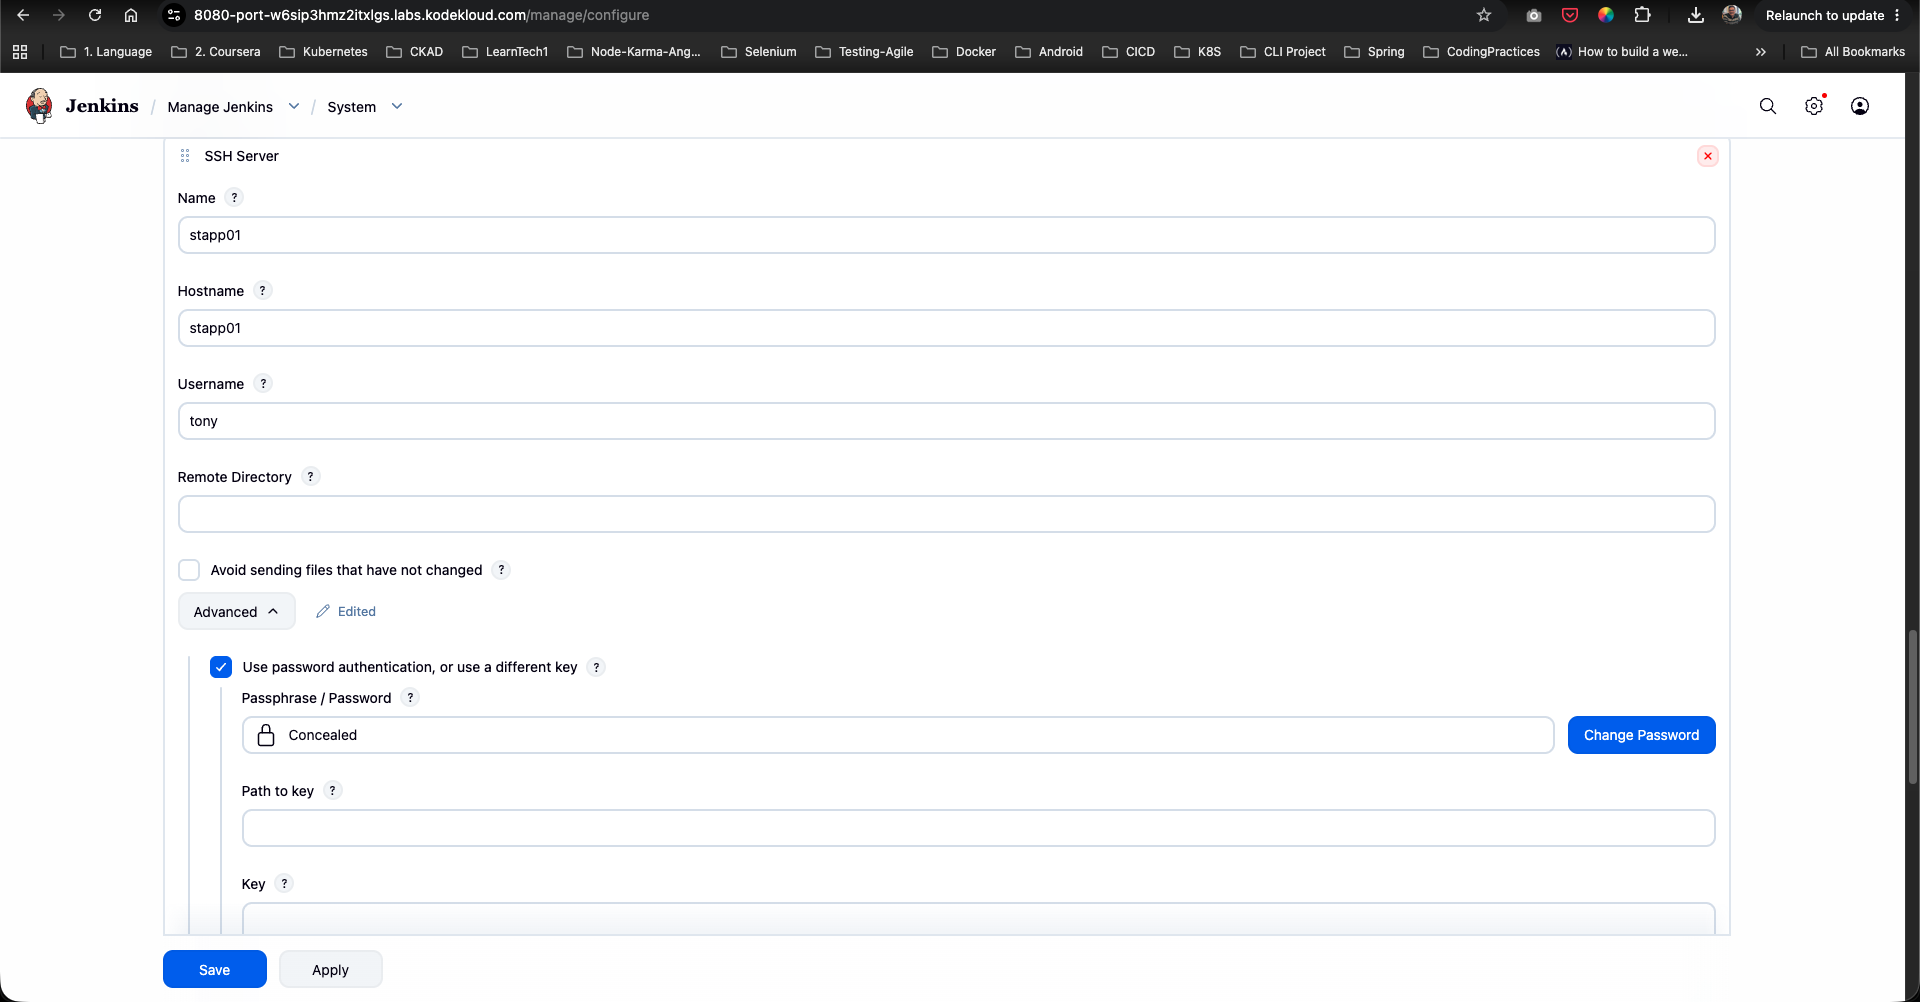
- Scroll down to the Publish over SSH section.
- Under SSH Servers, click Add and configure the remote server details:
- Name:
stapp01 - Hostname:
stapp01 - Username:
tony - Remote Directory: (Leave blank or set root)
- Name:
- Click Advanced…, check Use password authentication, or use a different key, and enter
tony’s password. - Click Save.
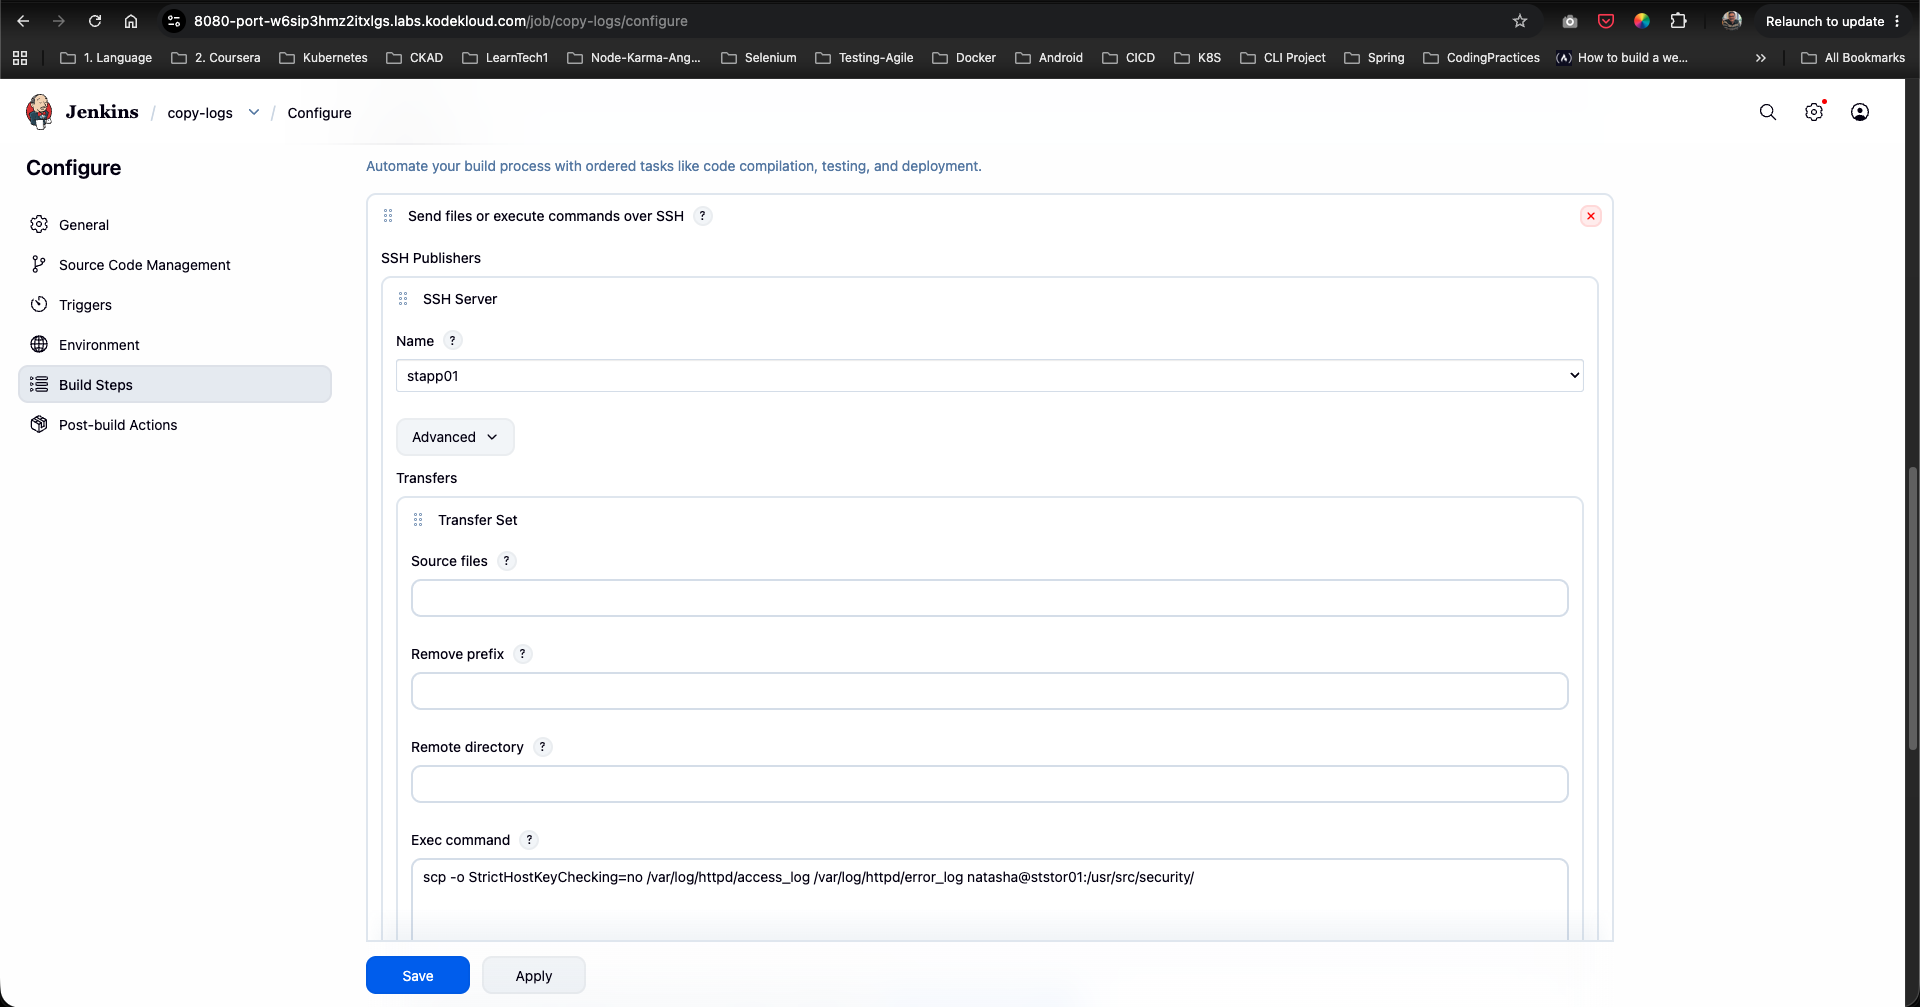
Step 8: Configure Remote SCP Command in Job Build Steps
- Return to the
copy-logsjob configuration page (/job/copy-logs/configure). - Go to the Build Steps tab.
- Click Add build step and choose Send files or execute commands over SSH.
- Under SSH Publishers, select
stapp01from the SSH Server Name dropdown. - Under Exec command, enter the SCP command to copy Apache access and error logs to the storage server:
scp -o StrictHostKeyChecking=no /var/log/httpd/access_log /var/log/httpd/error_log natasha@ststor01:/usr/src/security/ - Click Save.
Step 9: Execute Build & Verify Log Copy Operation
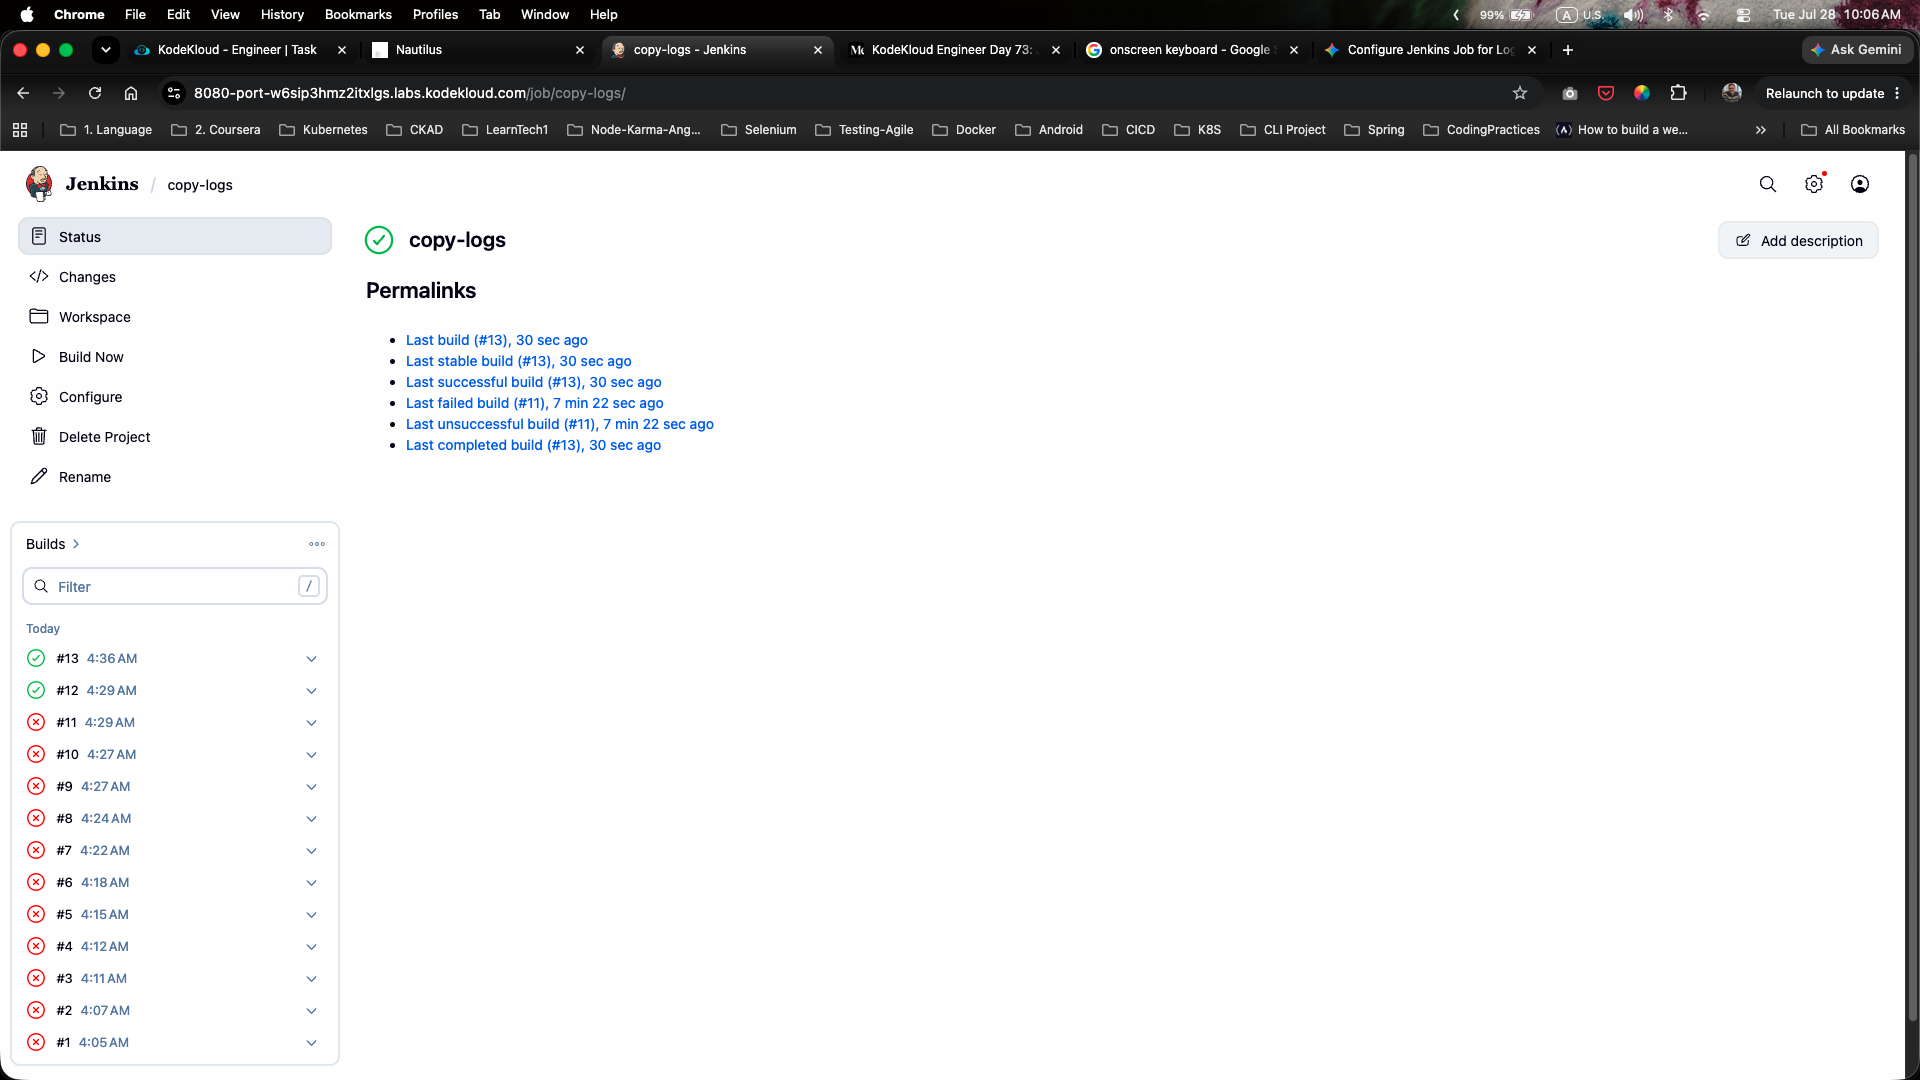
- From the left sidebar of the
copy-logsproject page, click Build Now to trigger an immediate test build. - Check the Build History panel. Build
#12and#13will execute and complete successfully (marked with green checkmark icons):
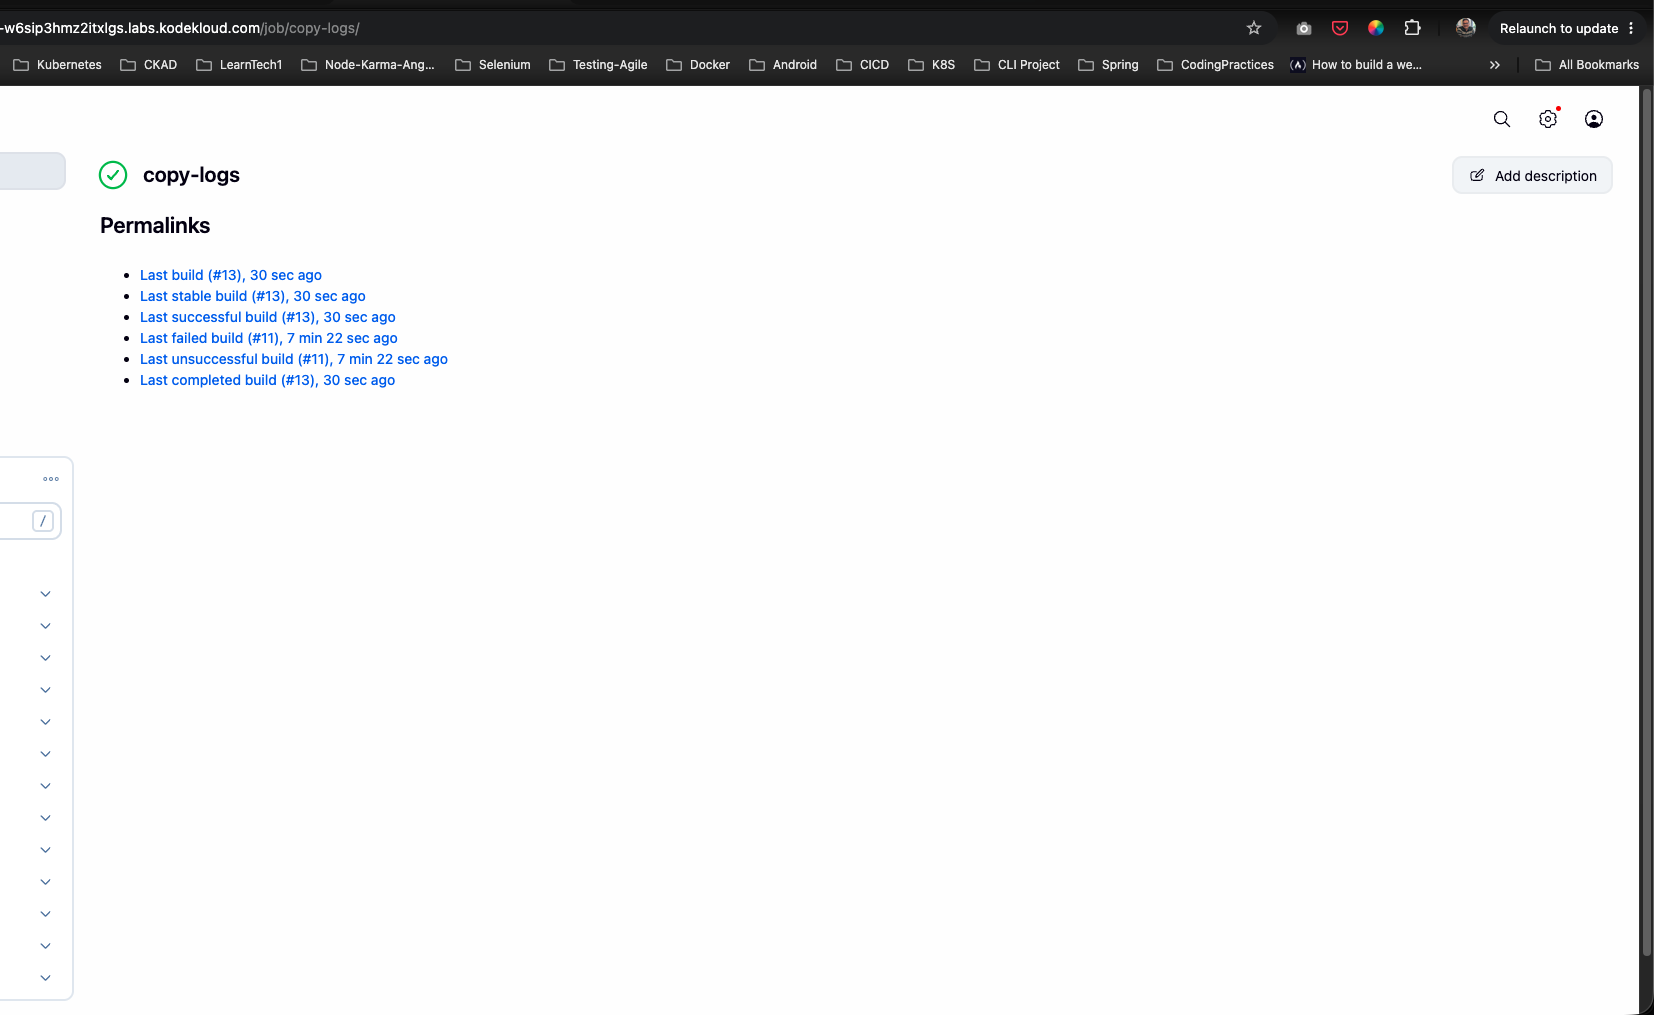
- Verify that the build status displays a green checkmark indicating successful execution of the SCP transfer command across the nodes:
The copy-logs job is now fully scheduled to run every 12 minutes and successfully transfers the Apache logs!